Welcome to the DIY Watch Assembly Instruction
In the next two hours, you will dive into the world of watchmaking.
Please relax, take your time, and enjoy the fun of the craft of watchmaking!
GMT Diver Assembly Instructions
Introduction: Learning about your 9075 Flyer GMT. Before you build it.
It’s useful to know about the watch before you build it. This is a brief introduction to the basics of the usage of a GMT mechanical watch, featuring both the NH34 and the Miyota 9075. Please feel free to come back to this video after you complete your watch assembly
If you are already familiar with how the GMT watches work, feel free to skip this video and proceed to the next one.
Useful video timestamps:
00:36 Comparing the Office/Caller vs the Traveller/Flyer/True GMT
01:19 Why the "TRUE" GMT?
01:54 How to use your GMT watches
02:38 Setting the "Home" time
03:13 Quick setting the second timezone
04:01 Using the bezels
Introduction to the MIYOTA 9 series and wearing finger cots
[IMPORTANT] Please refrain from taking the movement from the movement box before you wear the finger cots.
For this 9075 kit, we recommend wearing finger cots on the 1st 4 fingers of your non-dominant hand, and the 1st 2 fingers of your dominant hand. This is how it would look when you are handling your components with your non-dominant hand, and tools with your dominant hand.
Preparing case parts
Your watch case comes pre-assembled in order to keep it clean. We can disassemble the watch case before we get started
1: Dial and Movement Assembly Installation
1a. Handling the 9075, and the removal and installation of stem and crown
Watch assembly and basic watch repair require you to install and remove the stem and crown. You will need to do this multiple times throughout this workshop.
You can skip this video if you know how to handle a mechanical movement and how to remove the stem and crown from a Miyota 9 series movement
1b. Installing dial
2: Hand Installation and Adjustment
A few notes on watch hand installation (specific information for this 9075 MAXI GMT)
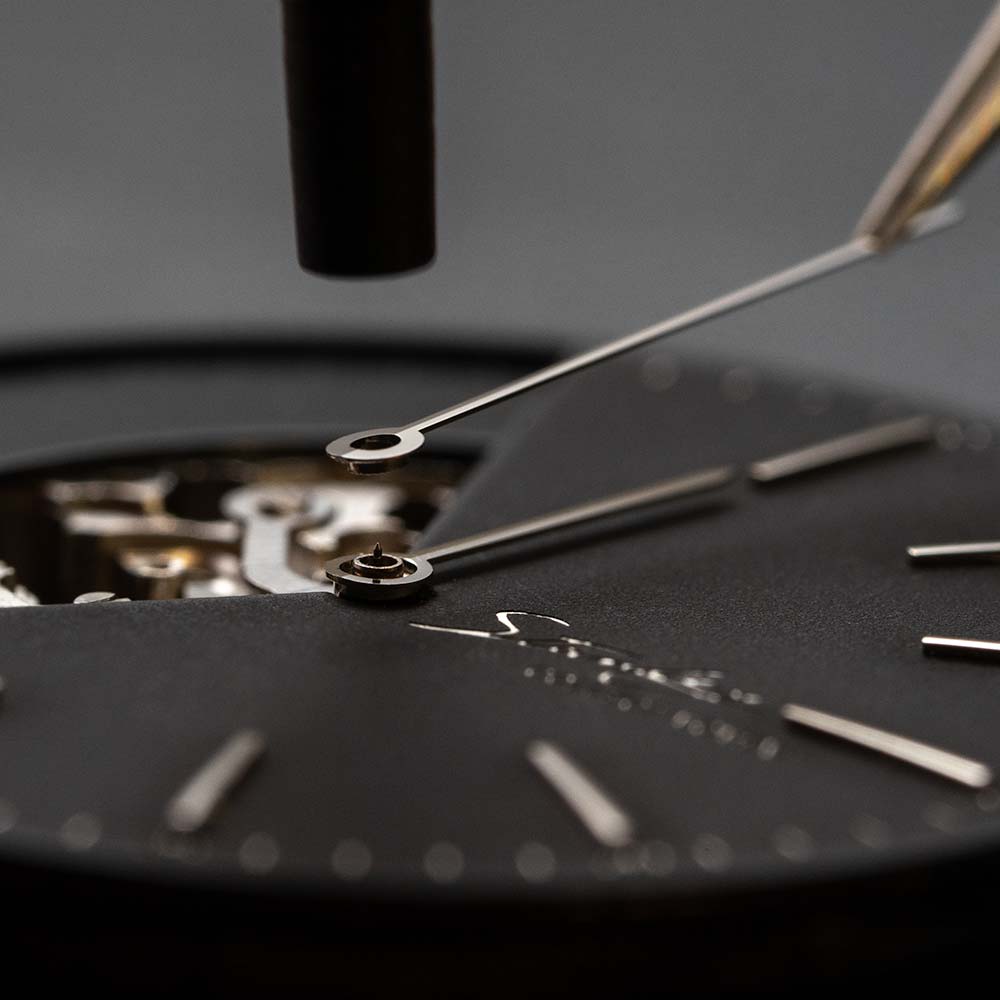
If this is your first time installing hands, it might be quite difficult. You can take a break first before continuing.
3: Installing Case and Other Parts
3a. Cleaning parts and movement assembly
Instruction on how to clean parts and movement assembly
Content:
Using hand pump
Using rodico
Using peg wood
3b. Cleaning watch case
In this part, we will clean the watch case
Content:
Avoid touching the inside of case
Using rodico, peg wood, and suede for cleaning
3c. Installing chapter ring and watch case
In this part, we will install the movement assembly with hands into the case
If you used a second hand installation assisting tool or other movement holders, you can refer to video 1b under “Dial & movement” section to install the case movement holder.
Content:
Installing assembly
Aligning movement and stem
Installing case back
3d. (optional) Installing custom rotor
If you have customised a rotor, replace the factory default rotor with your custom rotor.
Content:
Finding the right screwdriver
Removing the rotor
Putting on the new rotor
For Seiko rotor:
3e. (optional) Switching bezels.
This video will outline the key steps to remove and install bezels compatible with our 42mm Divers.
If you need to convert your bezel from uni-directional 60-click or 120-click to bi-directional 24-click (or vice versa), you will need to watch the following video.
If you need to reinstall any of the components, you can refer to this:
FINAL CHECK!
Check for proper watch functions by winding and setting time. When hands are being turned, check if they come into contact with other hands or parts.
Check for dust or dirt on crystal, hands, dial or other parts. If needed, you can remove the case to clean the inside.
Check if the case back and the screw-down crown is securely fastened. If not, water resistance capability of the watch might be compromised.


