

Welcome to the DIY Watch Assembly Instruction
In the next two hours, you will dive into the world of watchmaking.
Please relax, take your time, and enjoy the fun of the craft of watchmaking!
GMT Diver Assembly Instructions
(with helper tool)
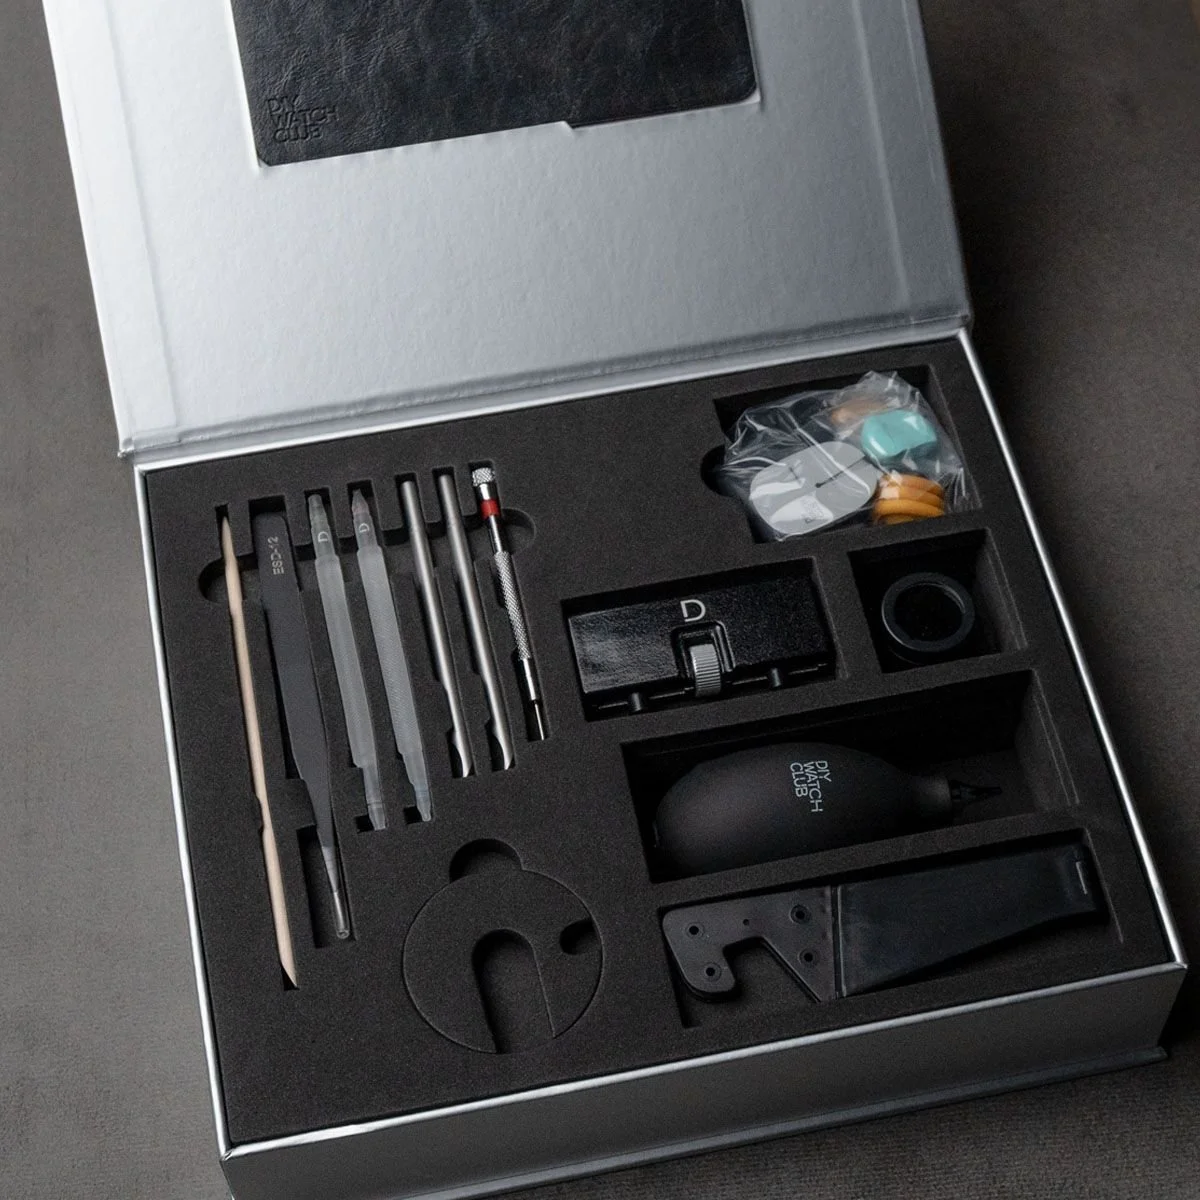
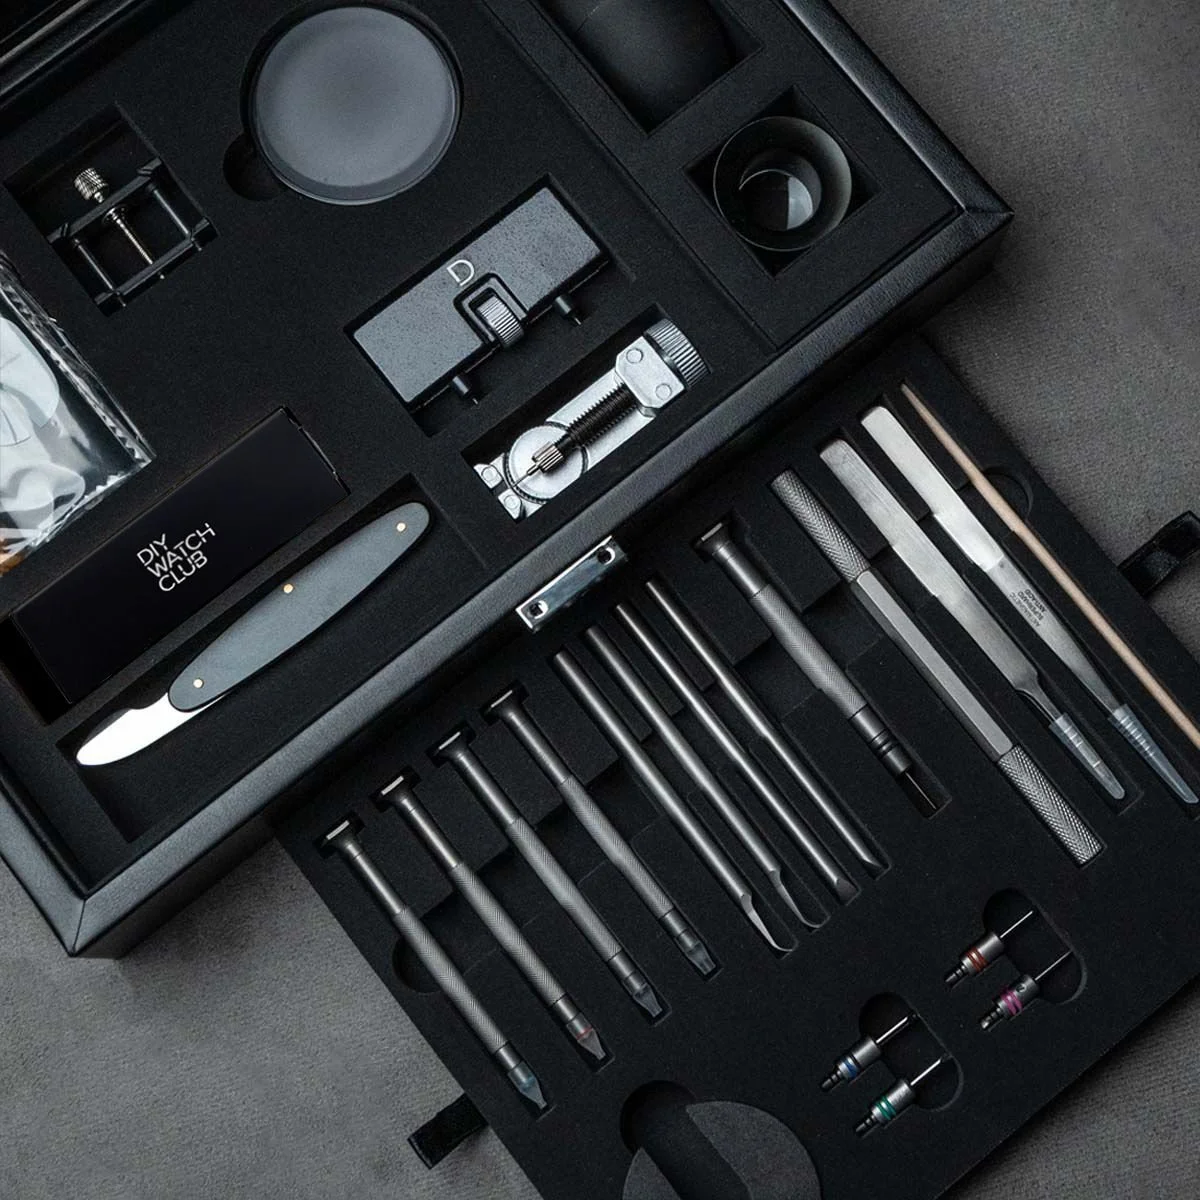
Before starting, you can familiarize yourself with the tools and parts needed:
Tool kit content introduction
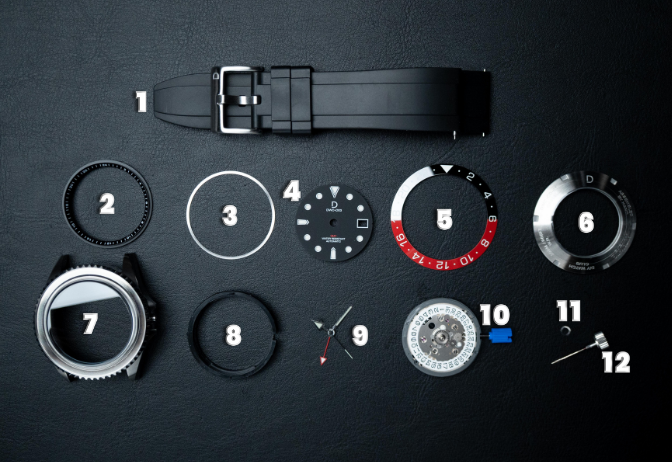
Parts:
strap
chapter ring
chapter ring spacer
dial
bezel insert
case back (case back gasket included)
watch case (top)
movement holder
hands (a pair of spare hands is included)
movement (TMI NH34/NH35)
movement hour wheel spring
stem and crown
* quick release spring bars (optional depending on strap type)
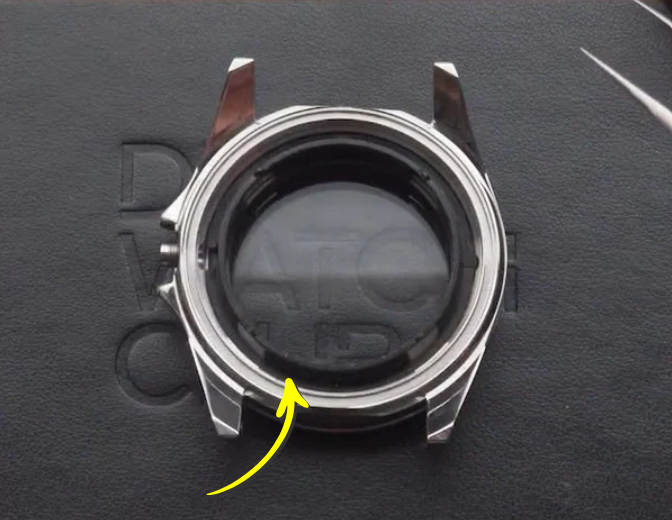
Movement holder
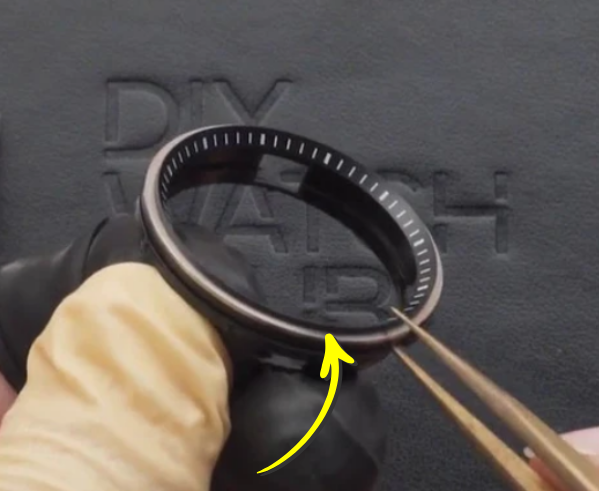
Chapter ring and chapter ring spacer (assembled onto the movement holder)
【Information】
The model used in the following videos may have a different design from the model on your hand,
but the assembly procedure is the same.
1: Dial and Movement Assembly Installation
Introduction: How to use a GMT mechanical watch with bezels.
This is a brief introduction to the basics of the usage of a GMT mechanical watch, featuring both the NH34 and the Miyota 9075.
If you are already familiar with how the GMT watches work, feel free to skip this video and proceed to the next one.
Content:
00:36 Comparing the Office/Caller vs the Traveller/Flyer/True GMT
01:19 Why the "TRUE" GMT?
01:54 How to use your GMT watches
02:38 Setting the "Home" time
03:13 Quick setting the second timezone
04:01 Using the bezels
1a. Watch Making Hygiene
Watch this tutorial before kick start your Chronograph watchmaking journey. An introduction to proper watch component care and assembly techniques, covering essential tips. Remember to wear your finger cots (2 sizes: Yellow ones bigger & Black ones smaller)
Content:
proper watch tools usage
proper watch component care
assembly techniques with essential tips
1b. Preparing case parts
Your watch case comes pre-assembled in order to keep it clean. This part will show you the individual parts of your case:
Movement holder
Chapter ring
Chapter ring spacer
Case back gasket
Content:
How to open case back with case back opener
How to place different parts
1c. Precautions during movement installation
Mechanical movement is the soul of a watch. It takes great care to install it. In this part, we’ll show you what to be mindful of when you install the movement.
Content:
Introduction of different parts of a movement
Areas you should not touch
Areas you can apply pressure on
1d. Installing dial - with secondhand installation helper tool

【Important】Reminder:
Secondhand installation helper tool can be served as an assembly holder tool, by placing the movement on top of the tool before installing the dial, makes following steps easier.
1. Look for this box which contains the secondhand installation helper tool.
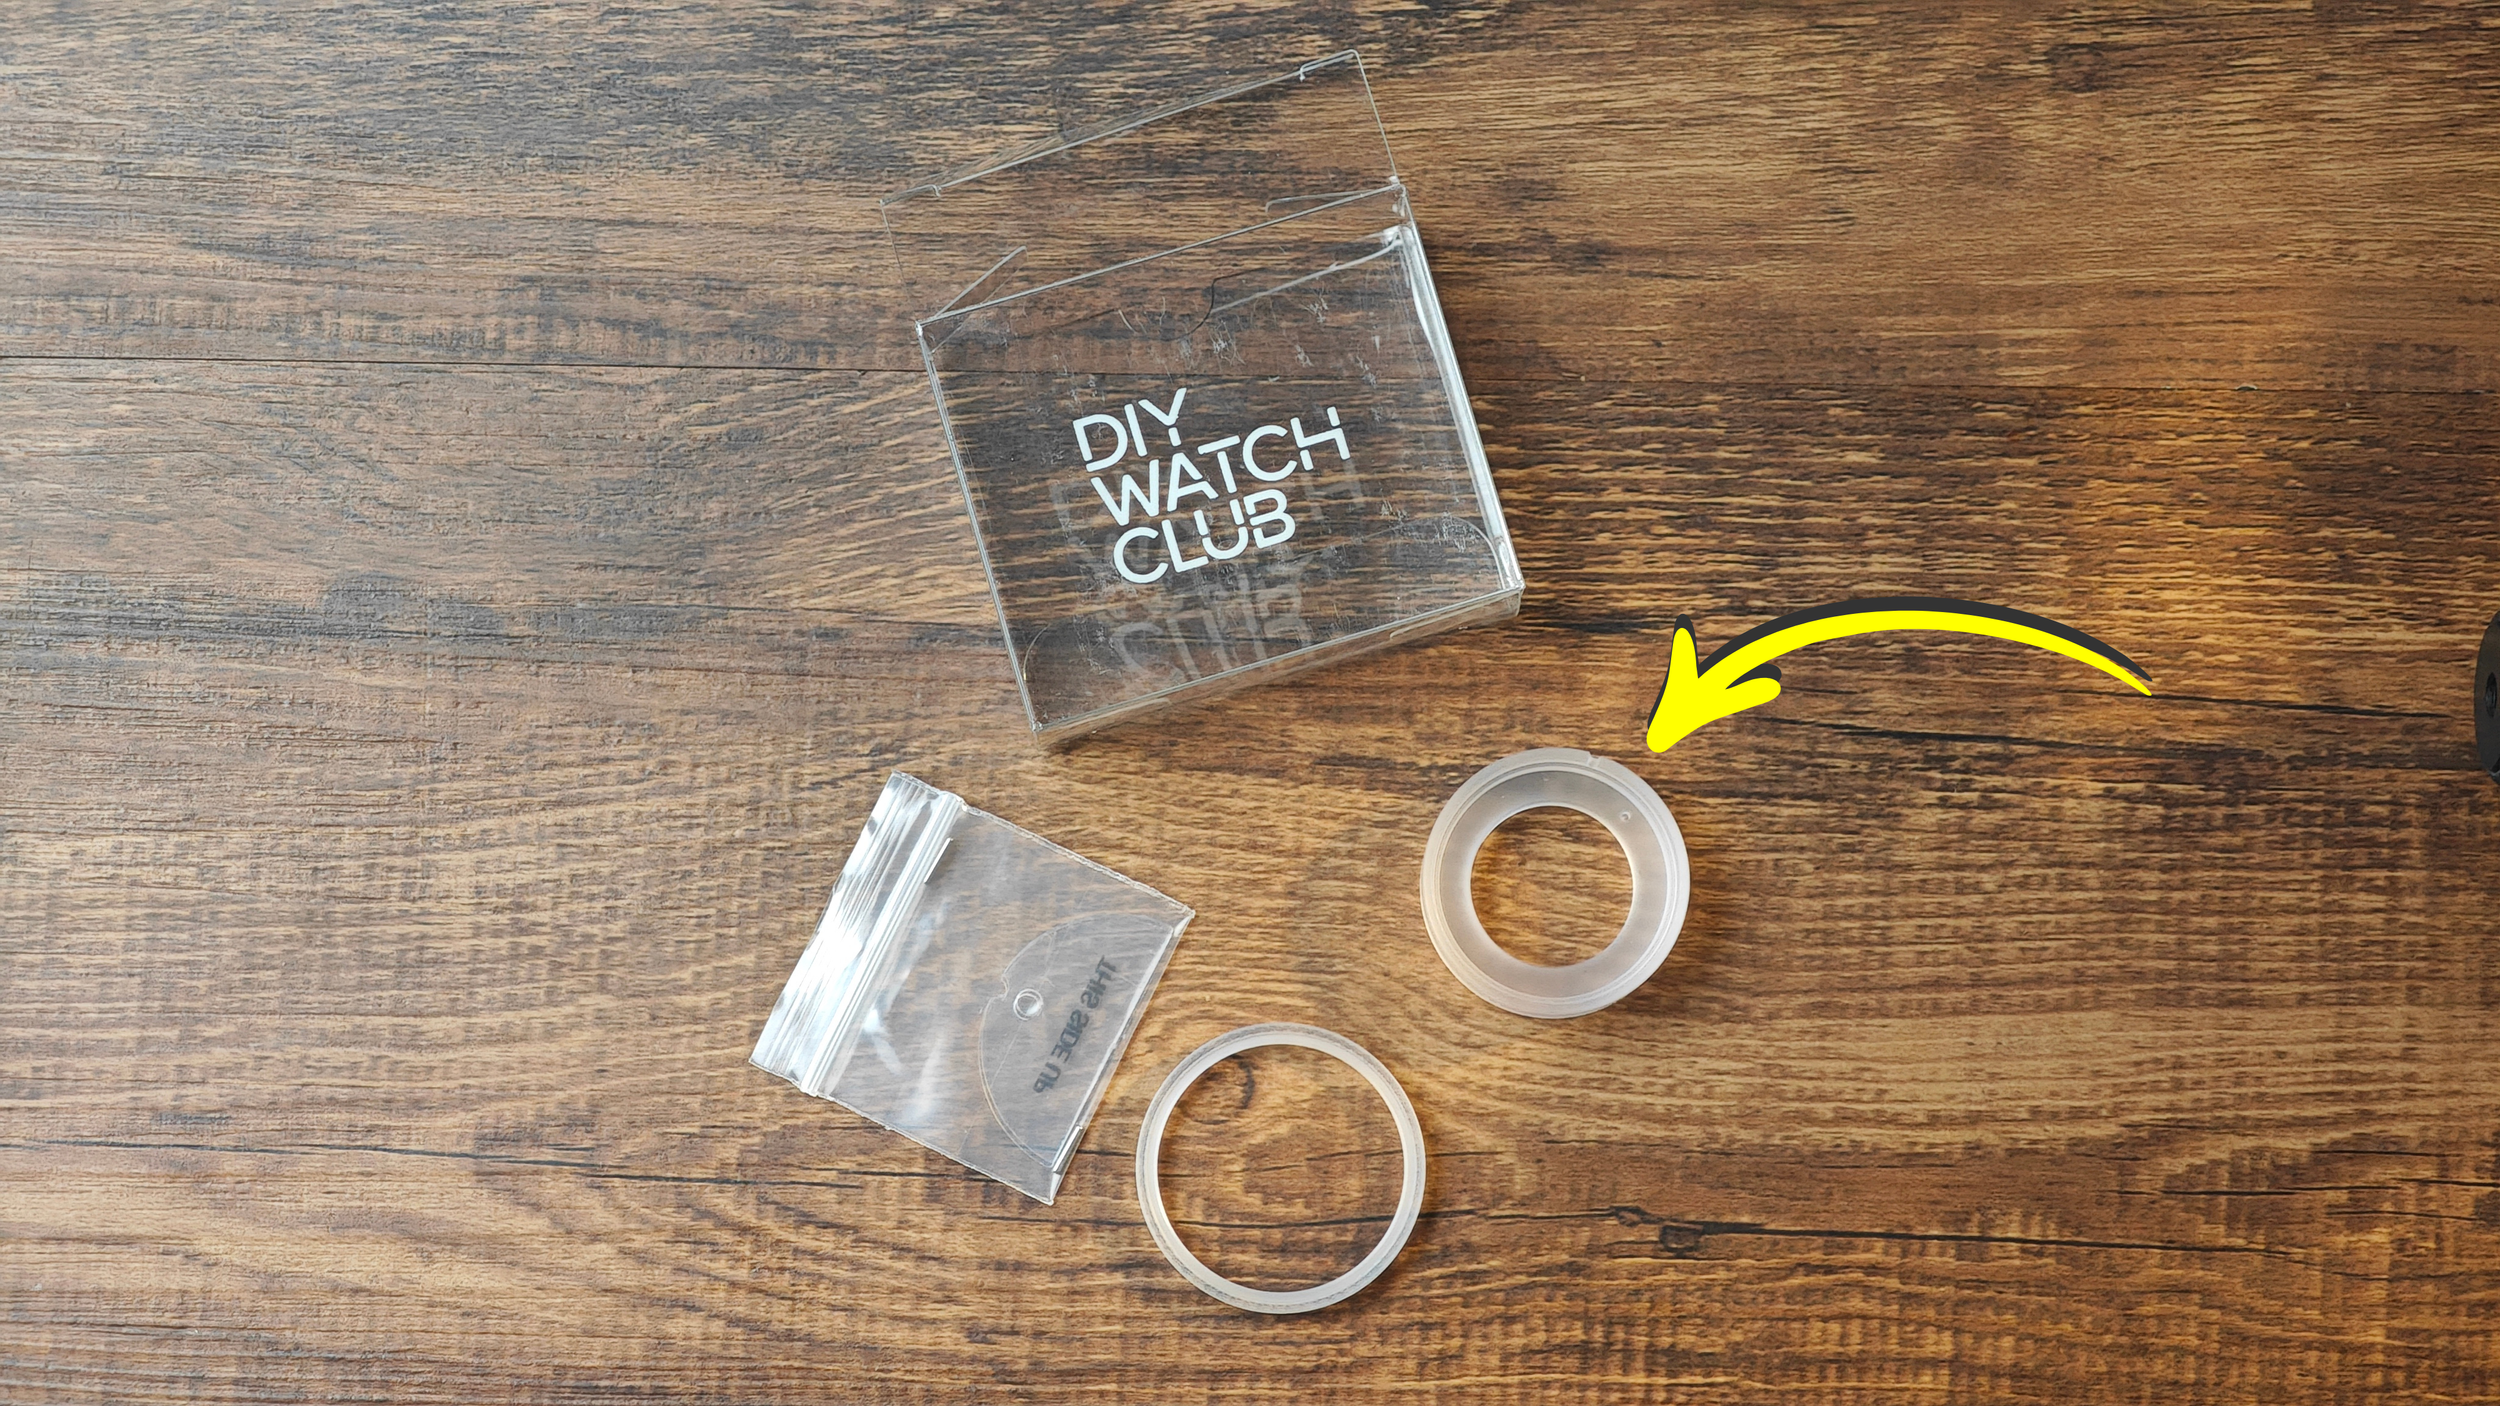
2. Keep other parts aside for later usage, look for the movement holder as circled.
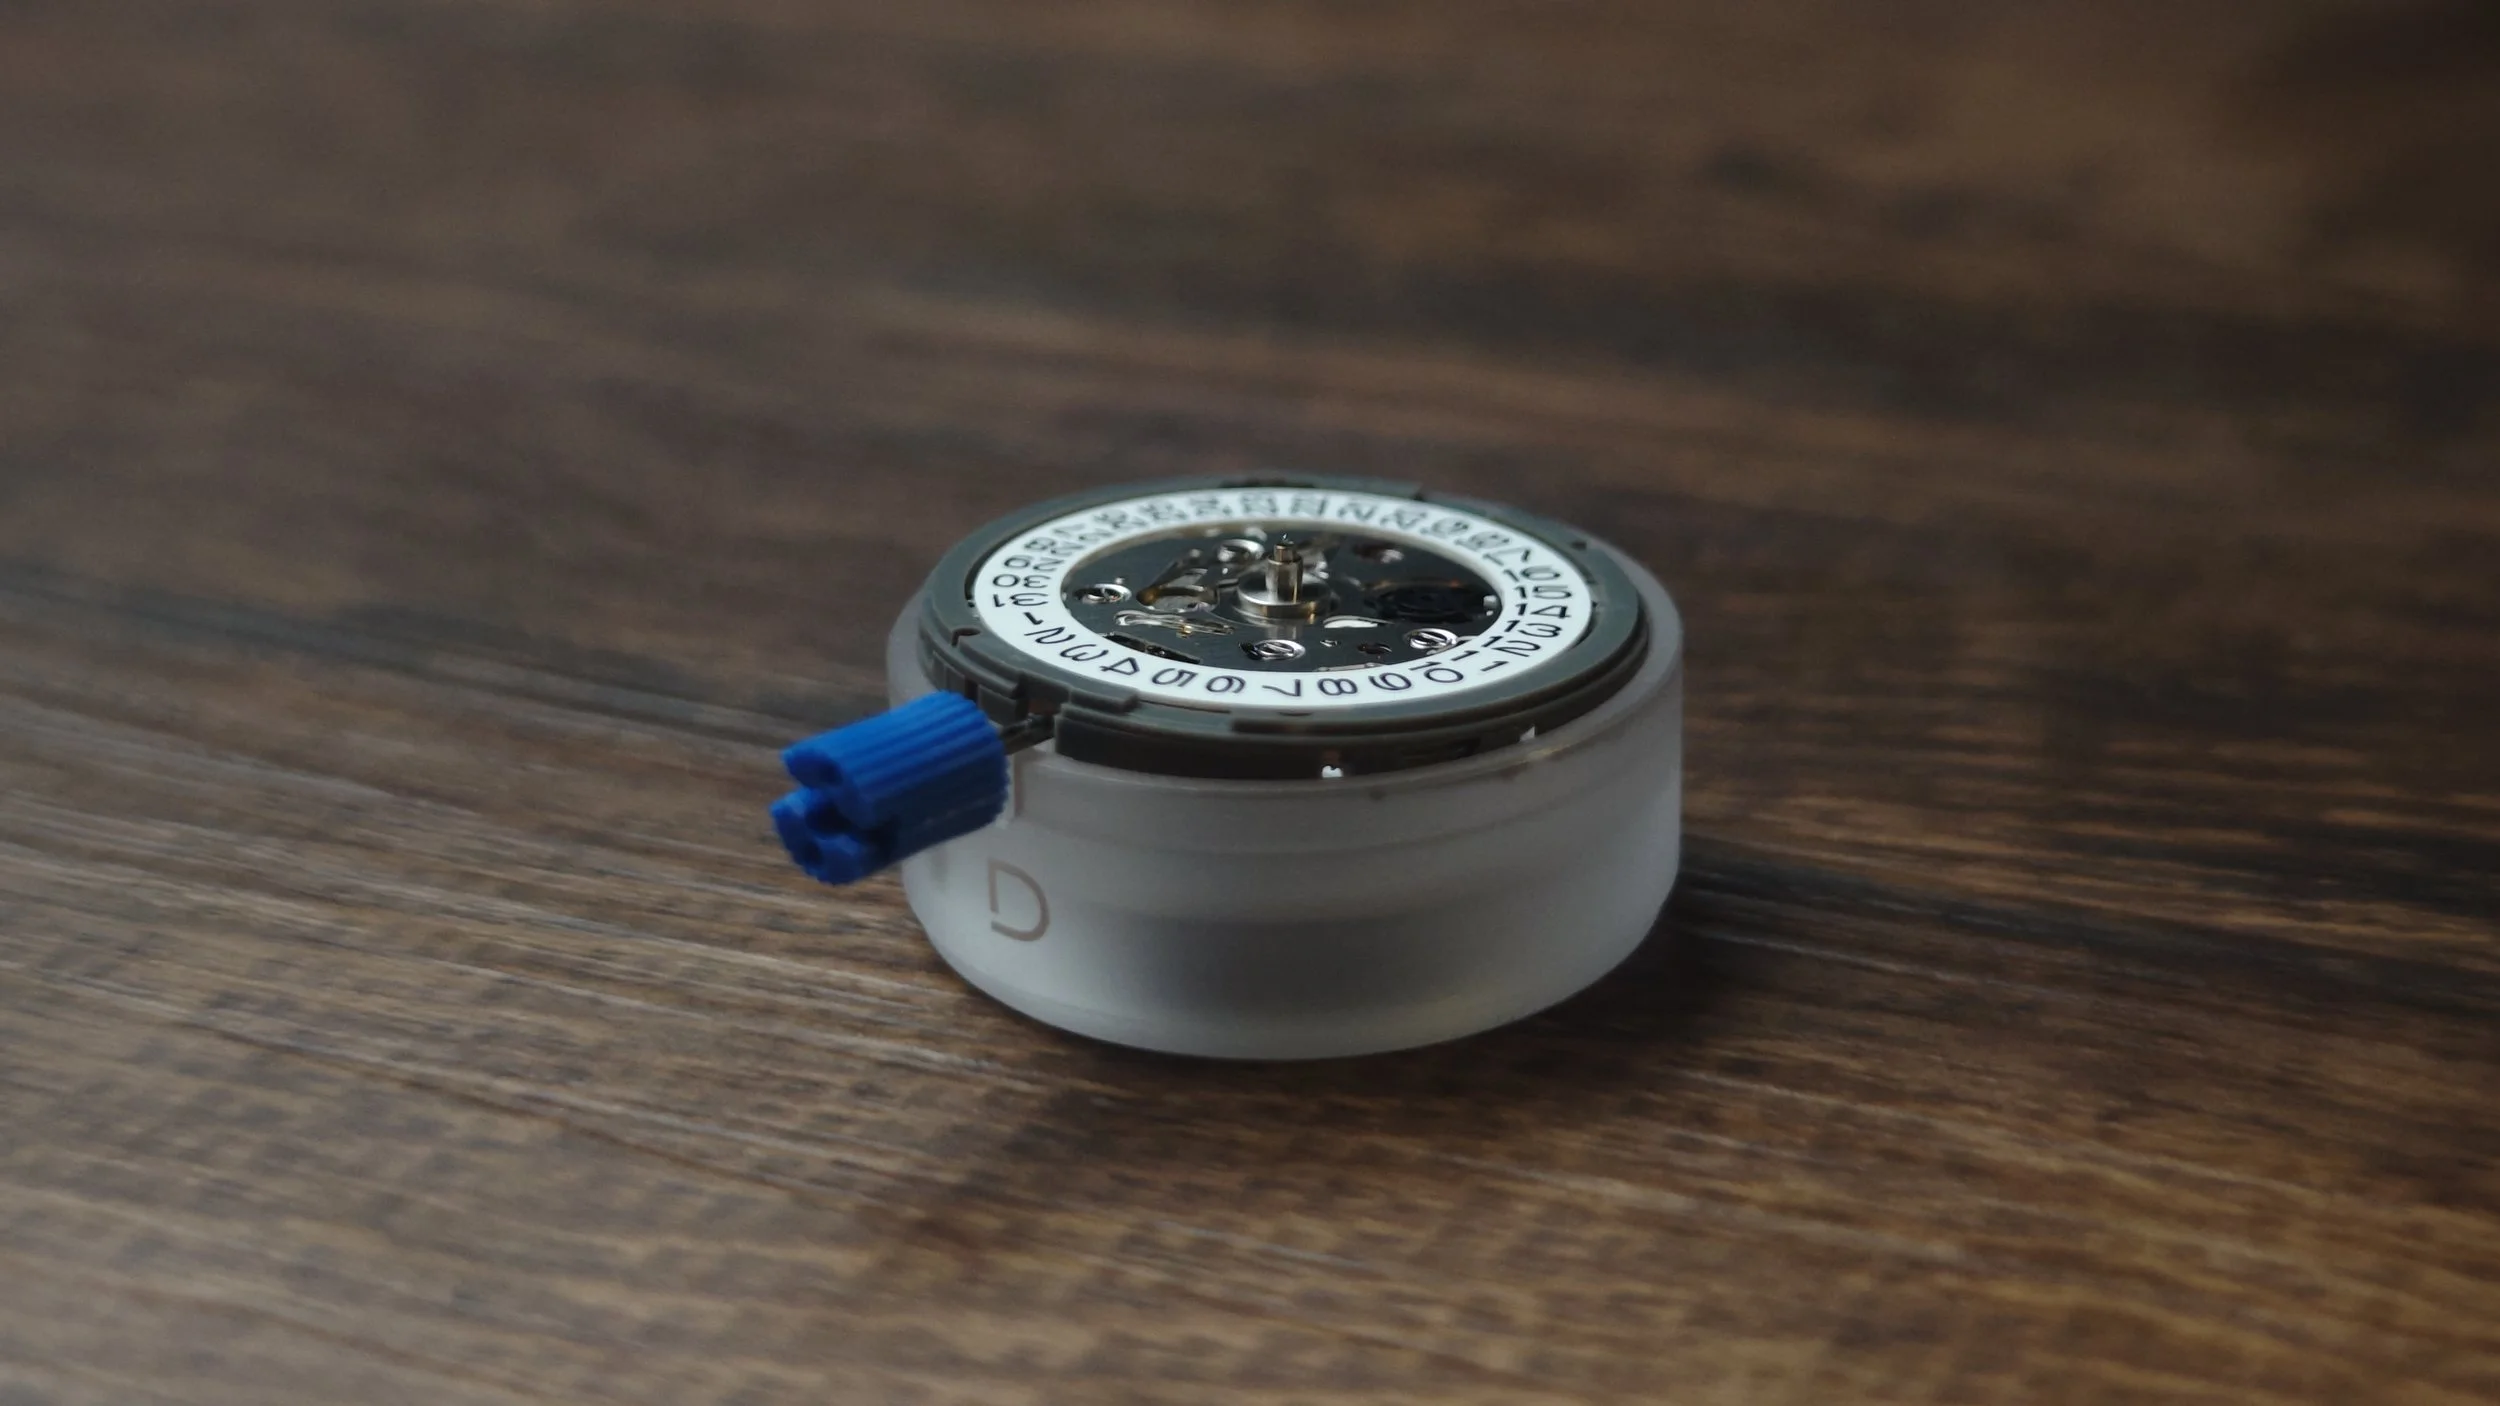
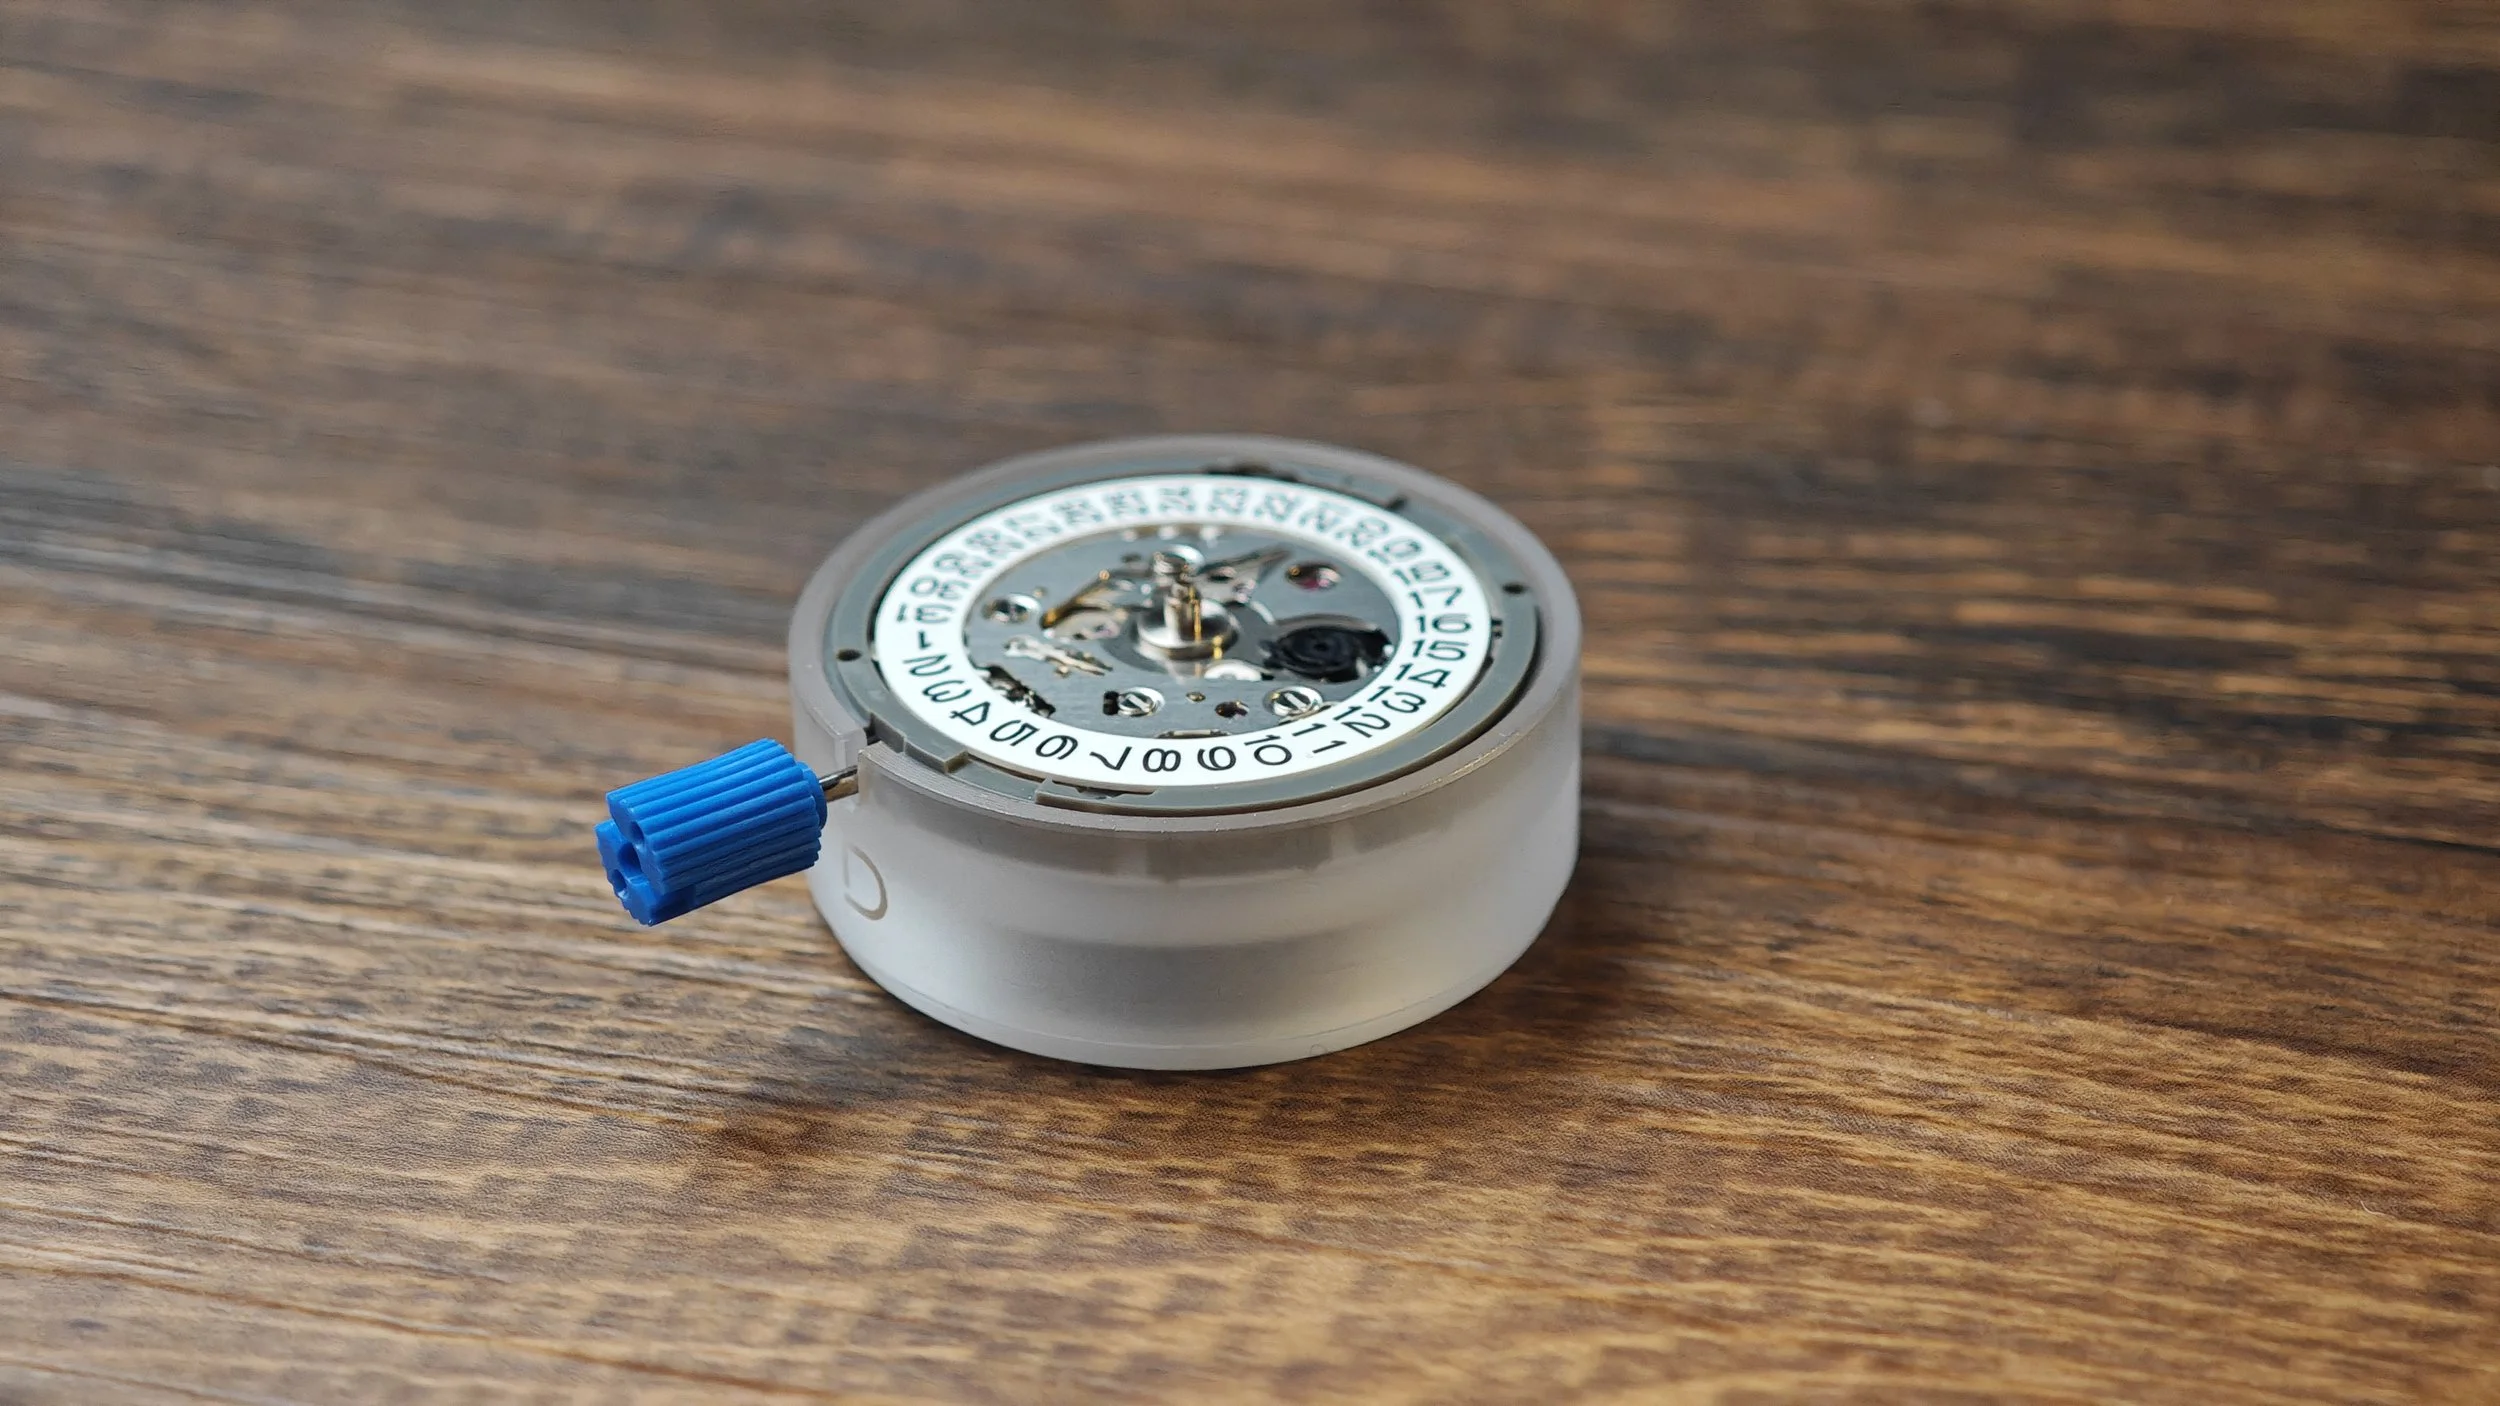
3. Place the movement on top of the movement holder.
4. Make sure the movement is flat on top of the movement holder.
Installing the hour wheel spring
Before installing the dial, you need to install the hour wheel spring onto the movement. Take note of which side is the top side, and place it onto the central hour wheel (highlighted below).
With the spring in place, you can proceed to the next guide on dial installation. The spring can easily fall off, so make sure it stays in place throughout the process.
Identify the hour wheel (highlighted in green)
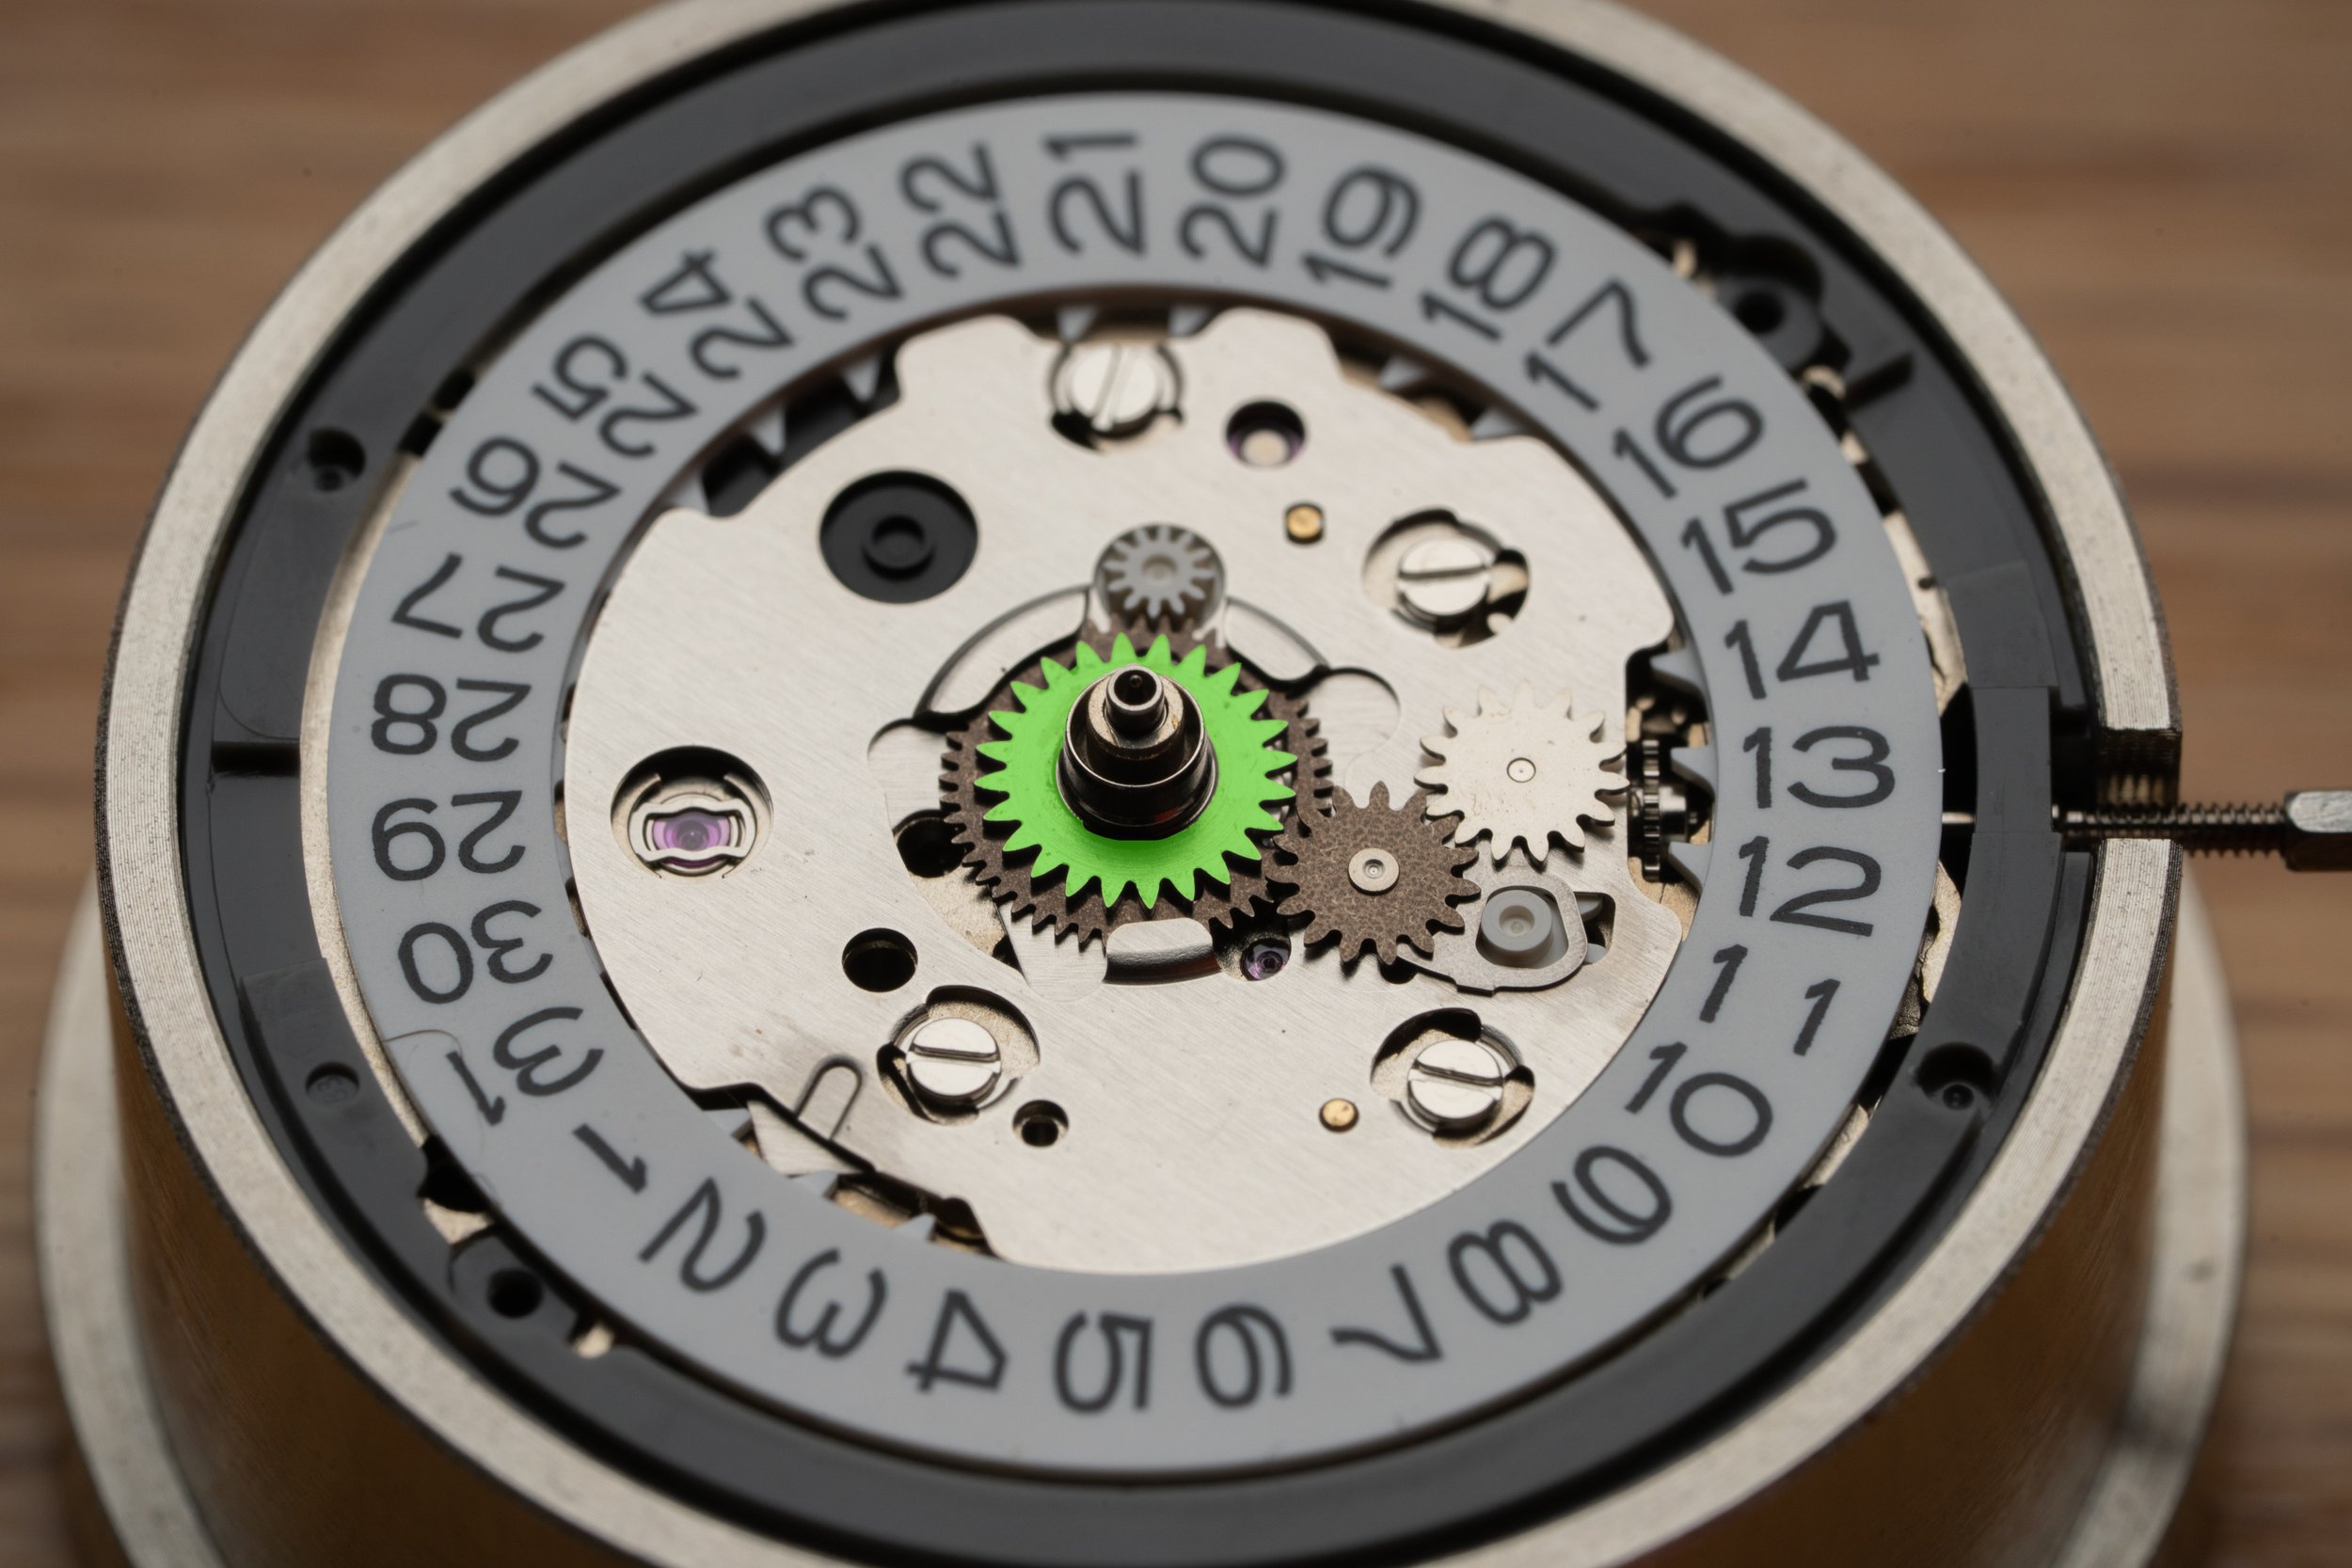
2. Identify the top side of the spring

3. Place the spring onto the hour wheel

With the hour wheel spring installed, we will install the dial. Please refer to the following video for instructions.
Content:
Install dial onto the movement

Your sandwich dial has a top and bottom layer. Normally they should come assembled in the kit, but if they fall off, you can reassemble them by aligning the feet and hole indicated by the arrows.
The movement dial holes are highlighted below (green spot):
Optional: How to remove the dial
To remove the dial, simply use a screw driver, and insert it in between the dial and the movement or movement holder. Inserting the screw driver next to the dial feet will give you a better control. For Seiko NH movements, you can find slots on the movement holder for this purpose.
2: Hand Installation and Adjustment
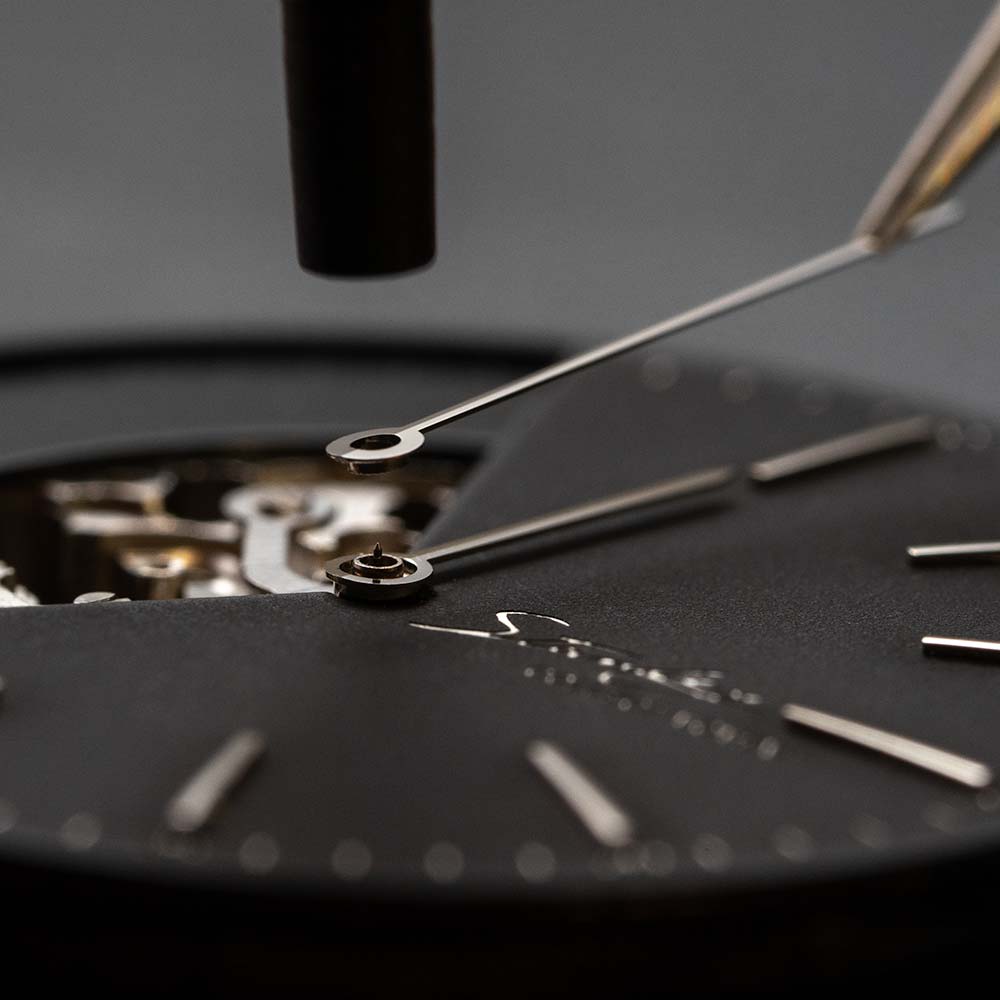
If this is your first time installing hands, it might be quite difficult. You can take a break first before continuing.
【Important】Reminders:
During installation, please avoid bending the post for second hand. Otherwise the function of the movement might be compromised.
Repeated installation of watch hands may result in loose hands. Therefore please be careful with each installation, and reduce the need for re-installation.
An extra set of hands is provided to you in case you need replacement.
Installation and Adjustment of
Minute and Hour Hands
Hand setting tools
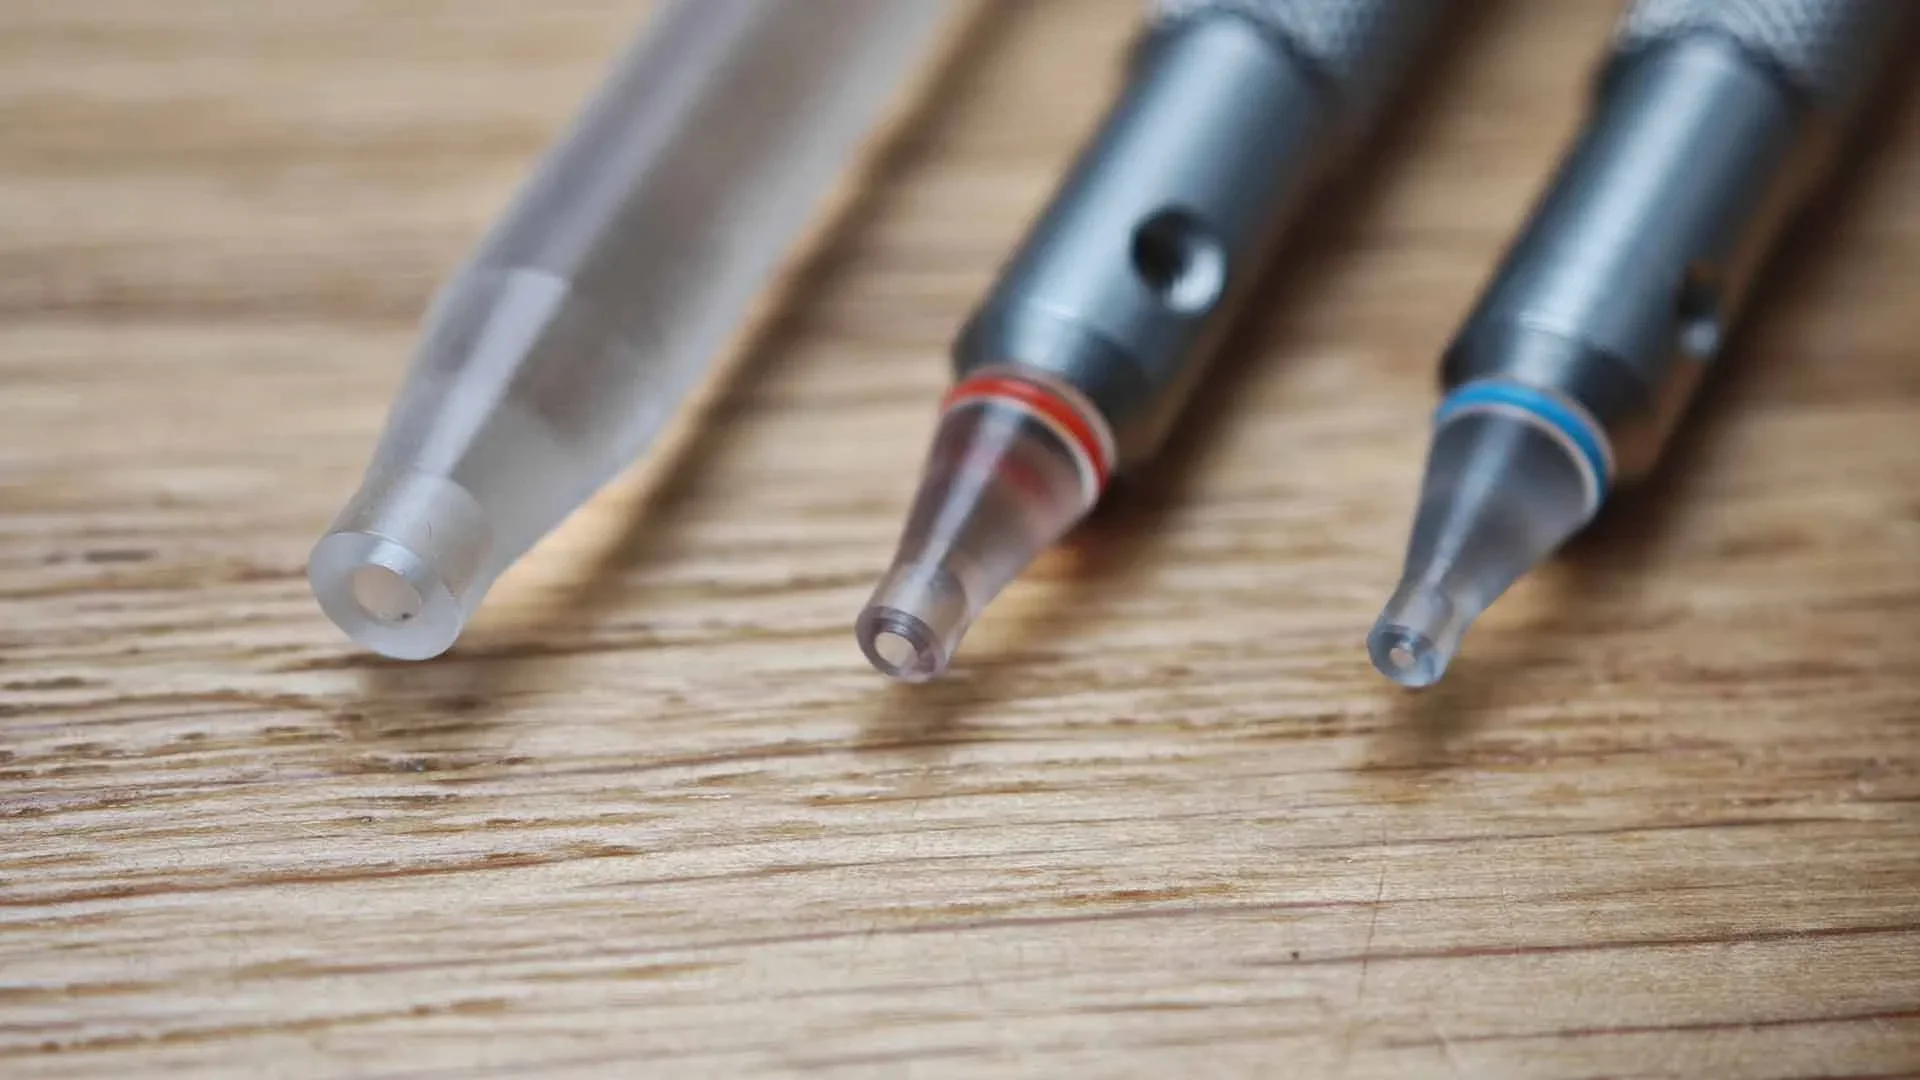
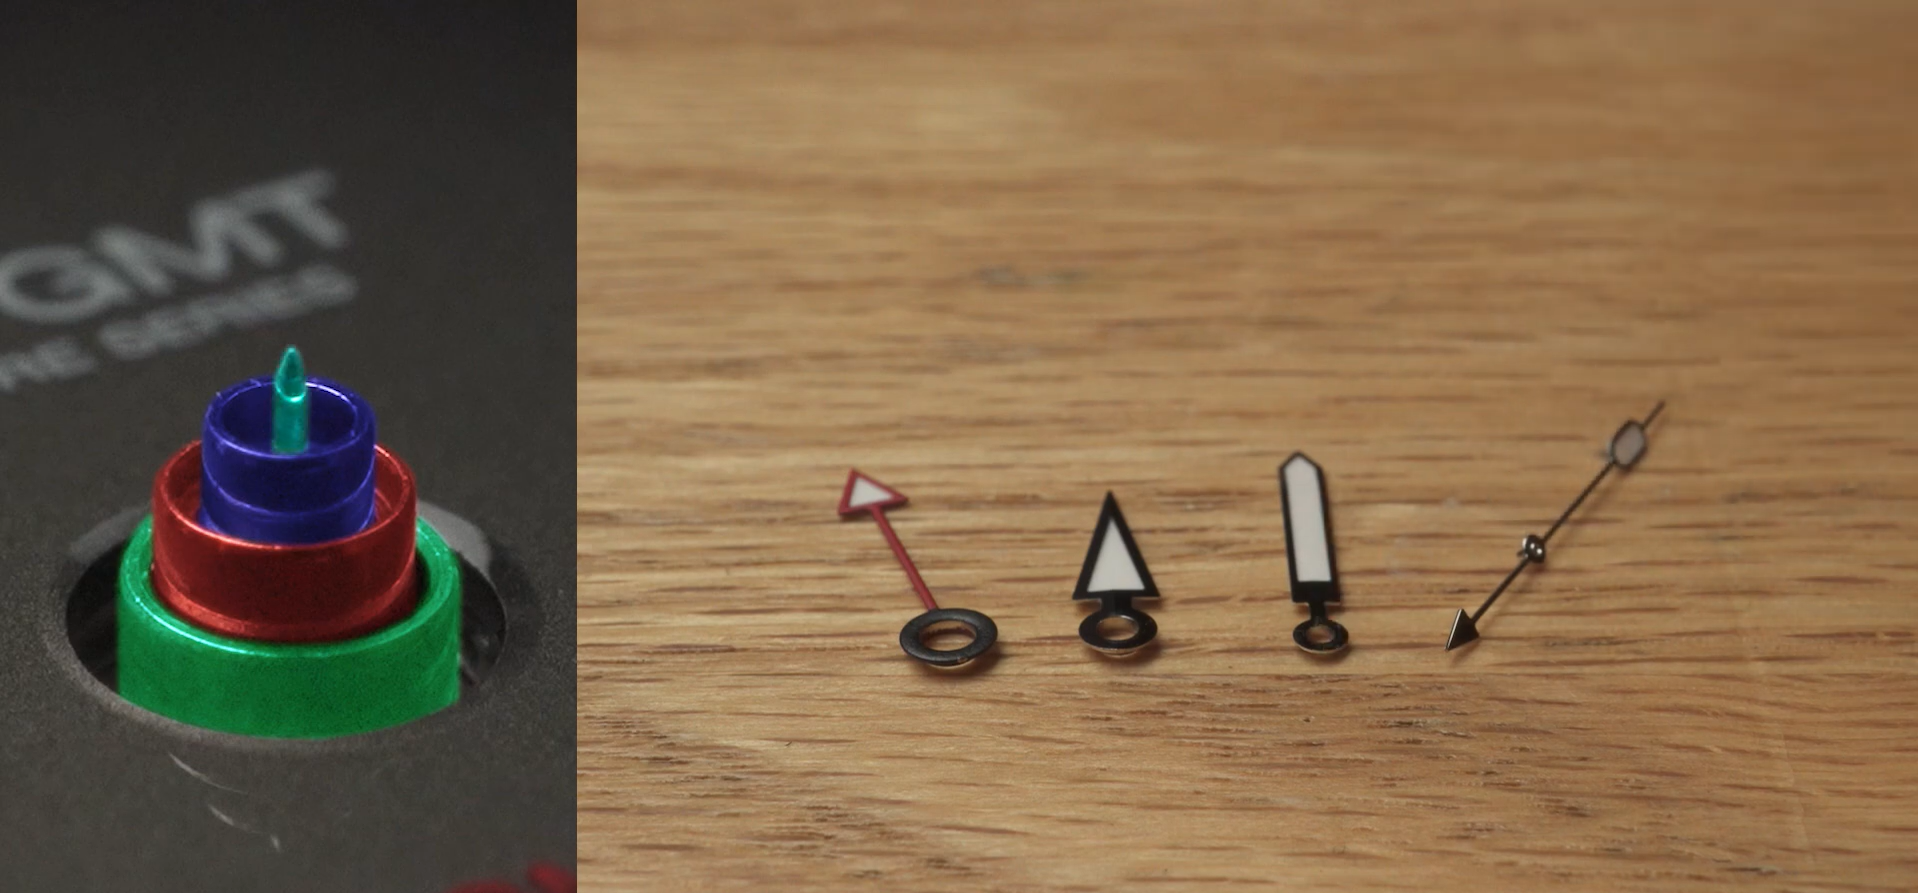
You will need hand setting tools of three sizes.
Use the left tool with the largest opening for GMT hand
Use the center tool for hour hand
Use the right tool for minute and second hand. [The center second hand’s post goes into the opening of the tool. Therefore, align well before pressing down and after pressing down, avoid sideway motions to avoid bending the second hand’s post]
2a. Installing GMT, hour, and minute hand
We will install the GMT, hour, and minute hands onto the dial and movement assembly.
Content:
Make sure the dial is installed correctly
Make sure the movement and dial assembly is secured and have a good setup for hands installation process
Identify the 3 hand setting tools
How to install GMT, hour, and minute hands (check the alignment before installing another hand on top)
Quality installation checking: date transaction between midnight and 5mins passed midnight
2b. (optional) Hands removal instruction
If you need to remove hour or minute hand, watch once before removing yours.
Content:
How to remove a whole set of hands
How to remove minute hand
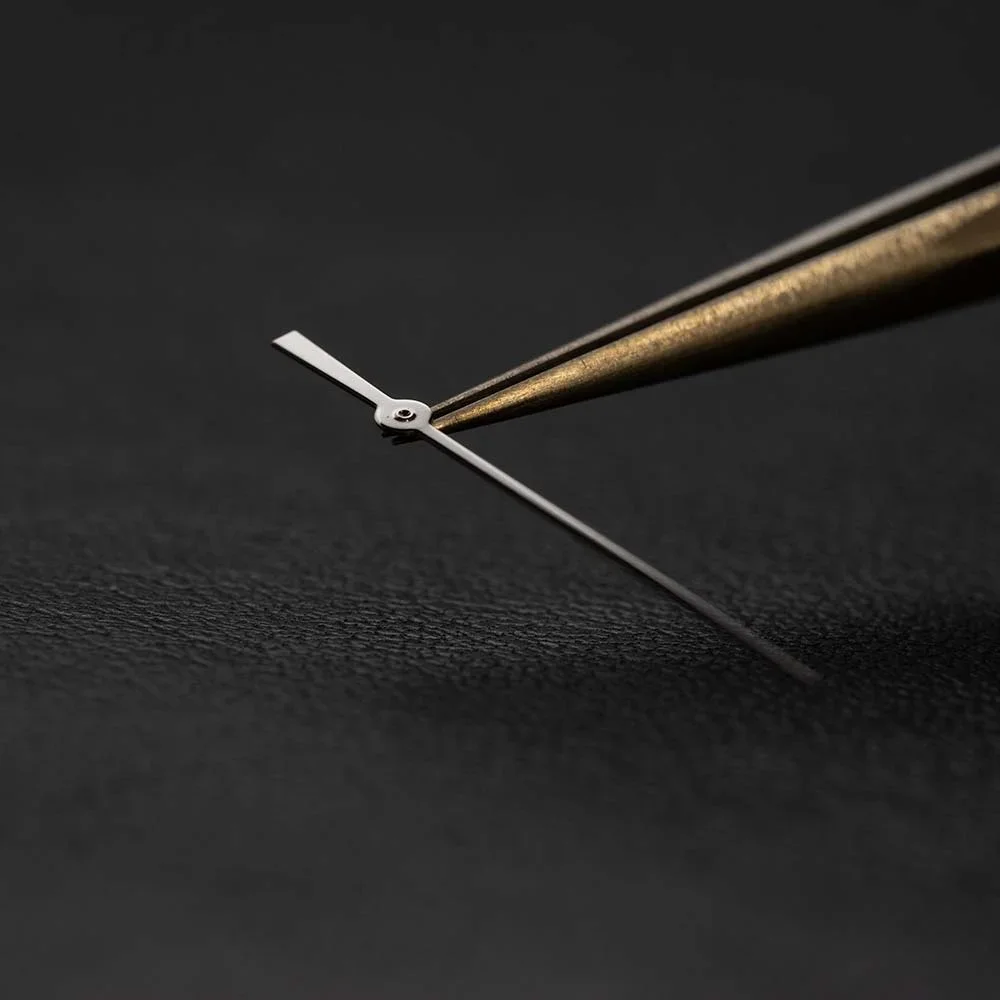
Installing Second Hand
WARNING! This part is very challenging and poses risk of irriversible damage to the movement!
Tips for second hand installation:
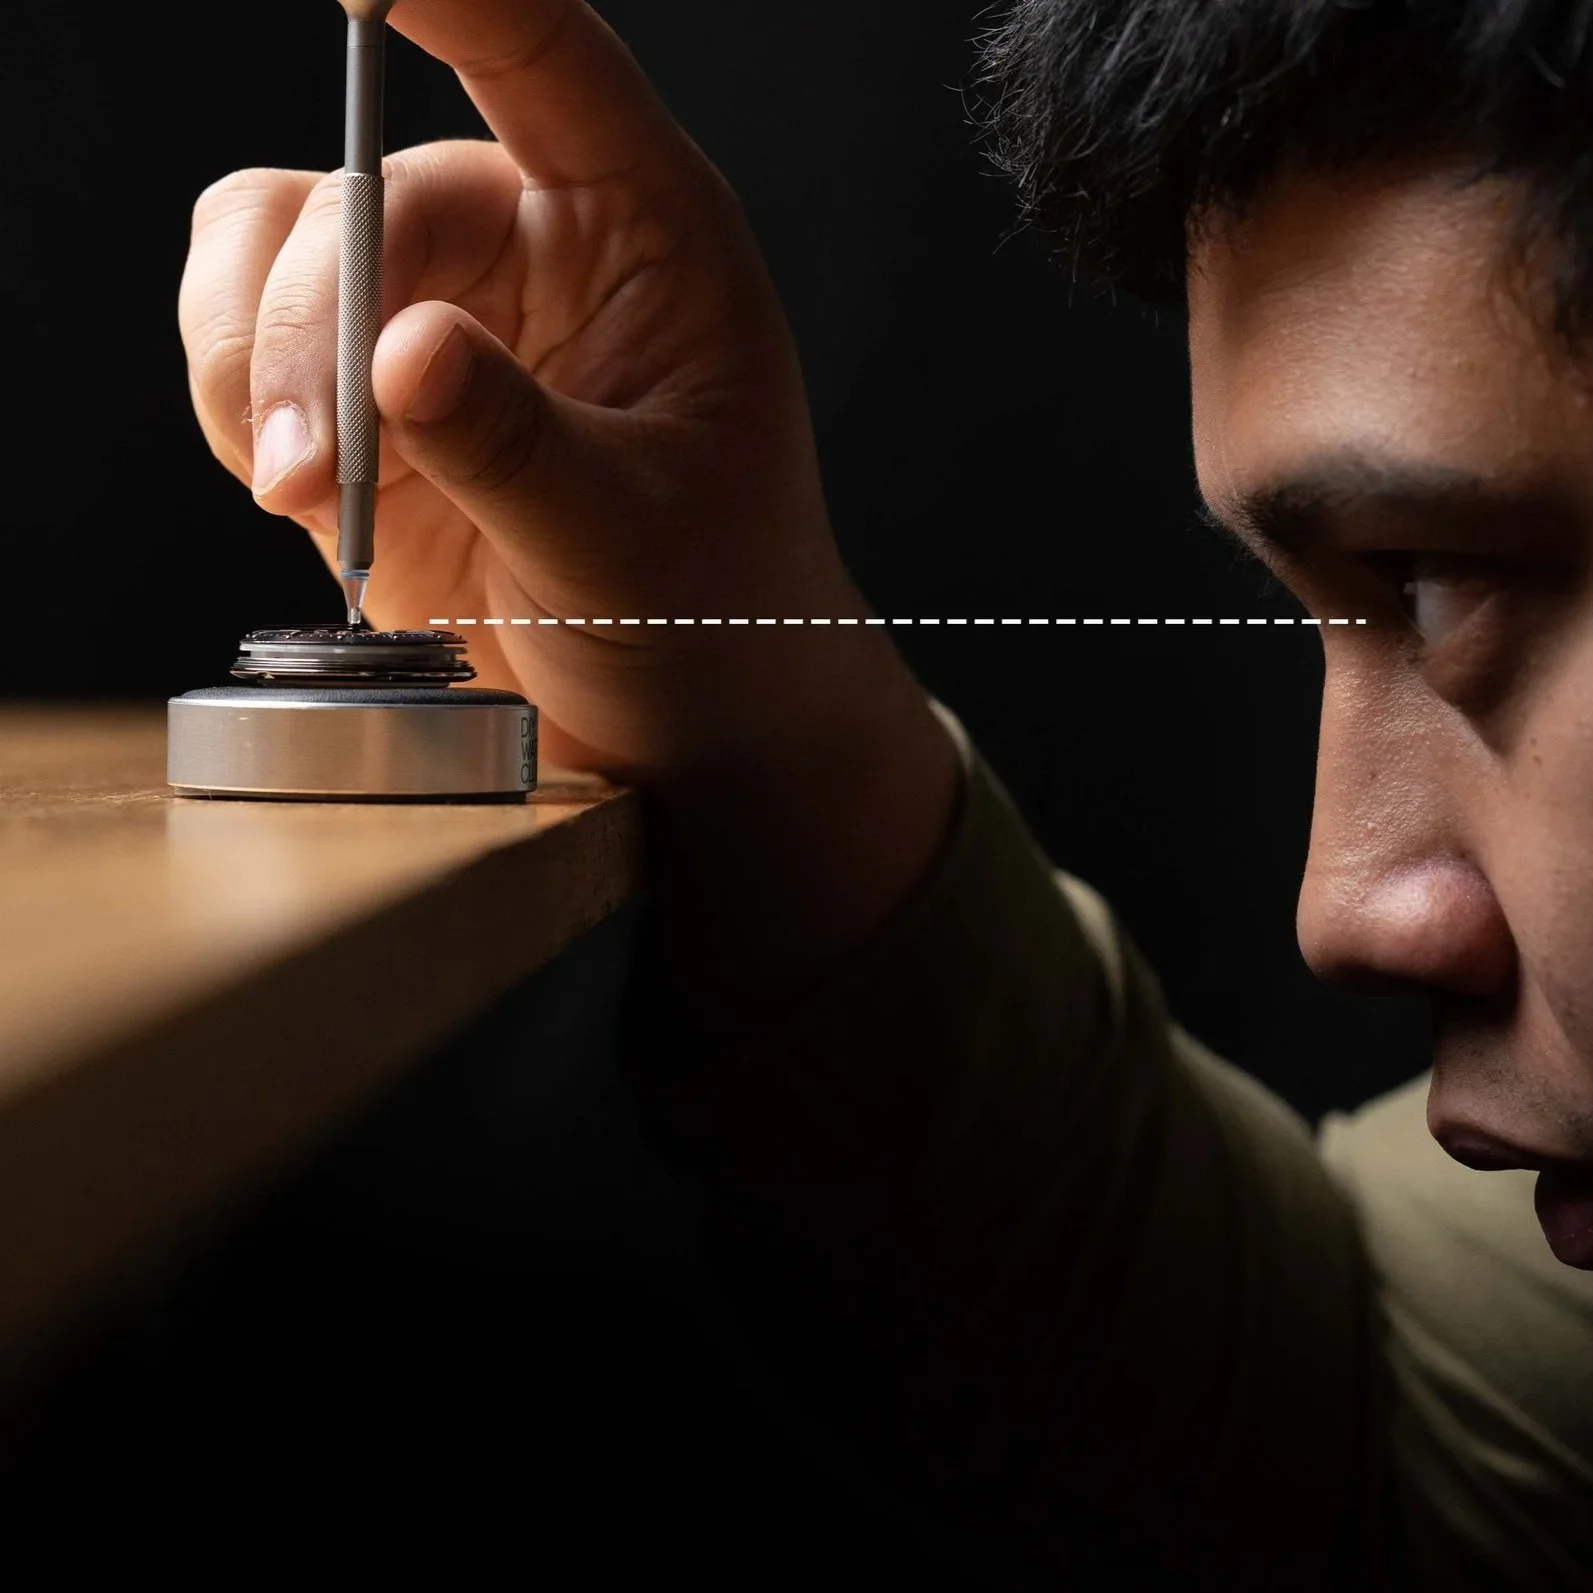
Viewing the second hand from a horizontal angle will make the hand installation significantly easier.
【Important】Reminders:
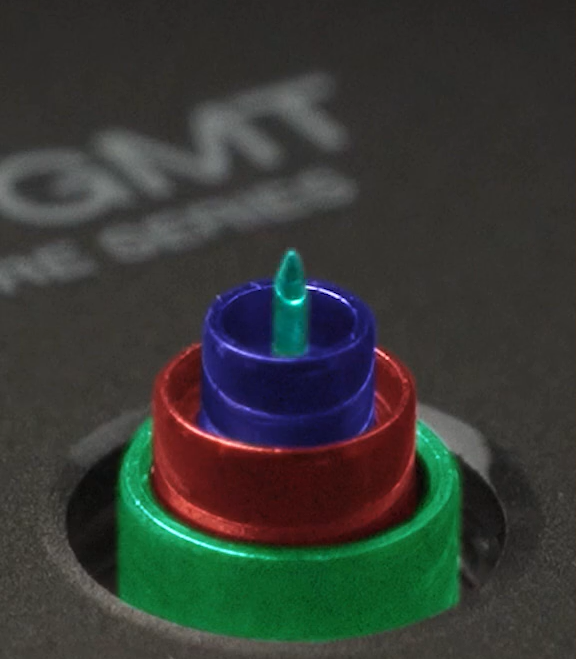
The second hand post is more fragile than that of hour and minute hands. Please be very careful with installation. A bent second hand post will affect the performance of movement.
It is recommended to first use a loupe to see the smallest post clearly before attempting to install. If you were not careful with minute hand installation, the second hand post might have been bent. If so, it is impossible to install the second hand.
Second hand must remain parallel with the dial. During installation and adjustment, be mindful to keep the second hand level.
Instructional video contains detailed description. Please pay attention to its content in its entirety.
2c. Installing second hand (with secondhand installation tool)
Using the secondhand installation helper tool can simplify the process of installing the second hand.
Content:
Introducing the helper tool
Using the helper tool to install a second hand
2d. (optional) Second Hand Troubleshoot
Here we will cover most of the problems related to secondhand installation.
You have now finished hands installation. You may press the following button to return to the top section of the tutorial:
3: Installing Case and Other Parts
3a. Seiko NH movement stem and crown removal (with secondhand installation tool)
Removing stem and crown is an essential step for watchmaking and watch modification.
Content:
Stem and crown removal method with helper tool
Stem and crown removal method with tweezers for Seiko NH movement
3b. Installing movement holder and chapter ring installation
In this part, we will install the movement holder and chapter ring before assembly into the watch case.
Content:
Installing movement holder
Installing movement holder
【Important】Reminder:
It’s time to check everything on the dial, watch hands, and watch case crystal for dust and smudges. Clean them up with the techniques that was mentioned during 1a. Watch Hygiene video.
3c. Installing the assembly into watch case
In this part, we will install the whole assembly into the watch case.
Content:
Casing the whole assembly (*remember to clean the components before casing)
4: Modding Options
4a. (optional) Installing custom rotor
If you have customised a rotor, replace the factory default rotor with your custom rotor.
Content:
Finding the right screwdriver
Removing the rotor
Putting on the new rotor
For Seiko rotor:
4b. (optional) Switching bezels
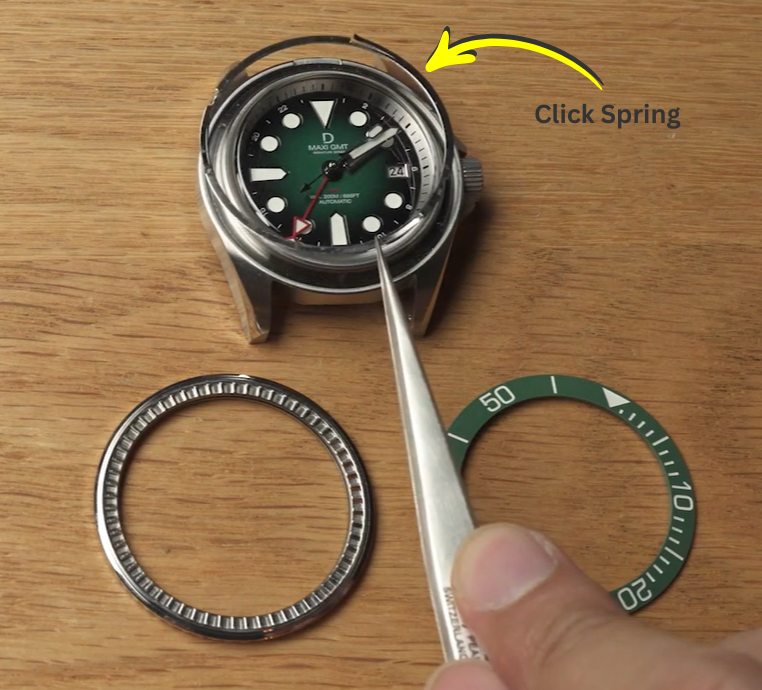
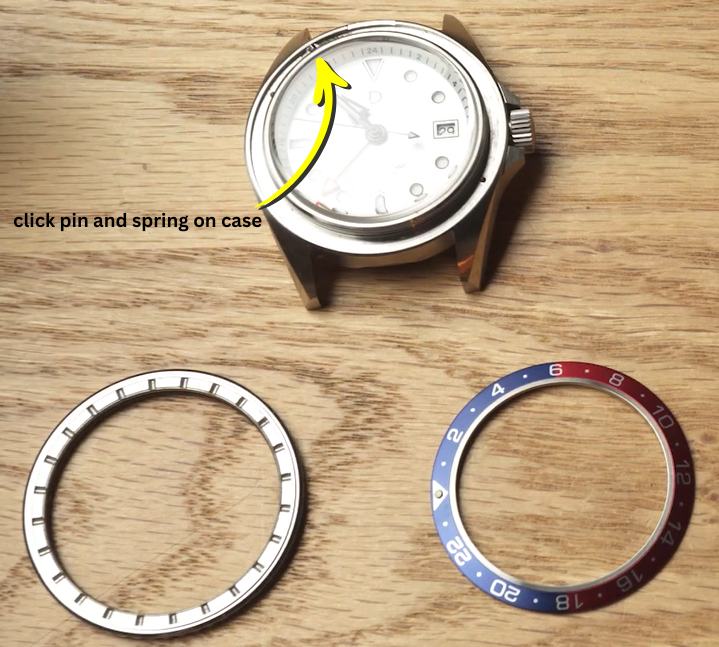
If you need to convert your bezel from uni-directional 60-click or 120-click to bi-directional 24-click (or vice versa), you will need to watch the following video.
BEWARE! Our design has 24 click and 60 click set up, components are not interchangeable.
60 click bezel and click spring set up: 24 click bezel, click pin and spring on watch case:
*be careful do not lose the click pin and spring
4c. (optional) Bleaching bezel insert
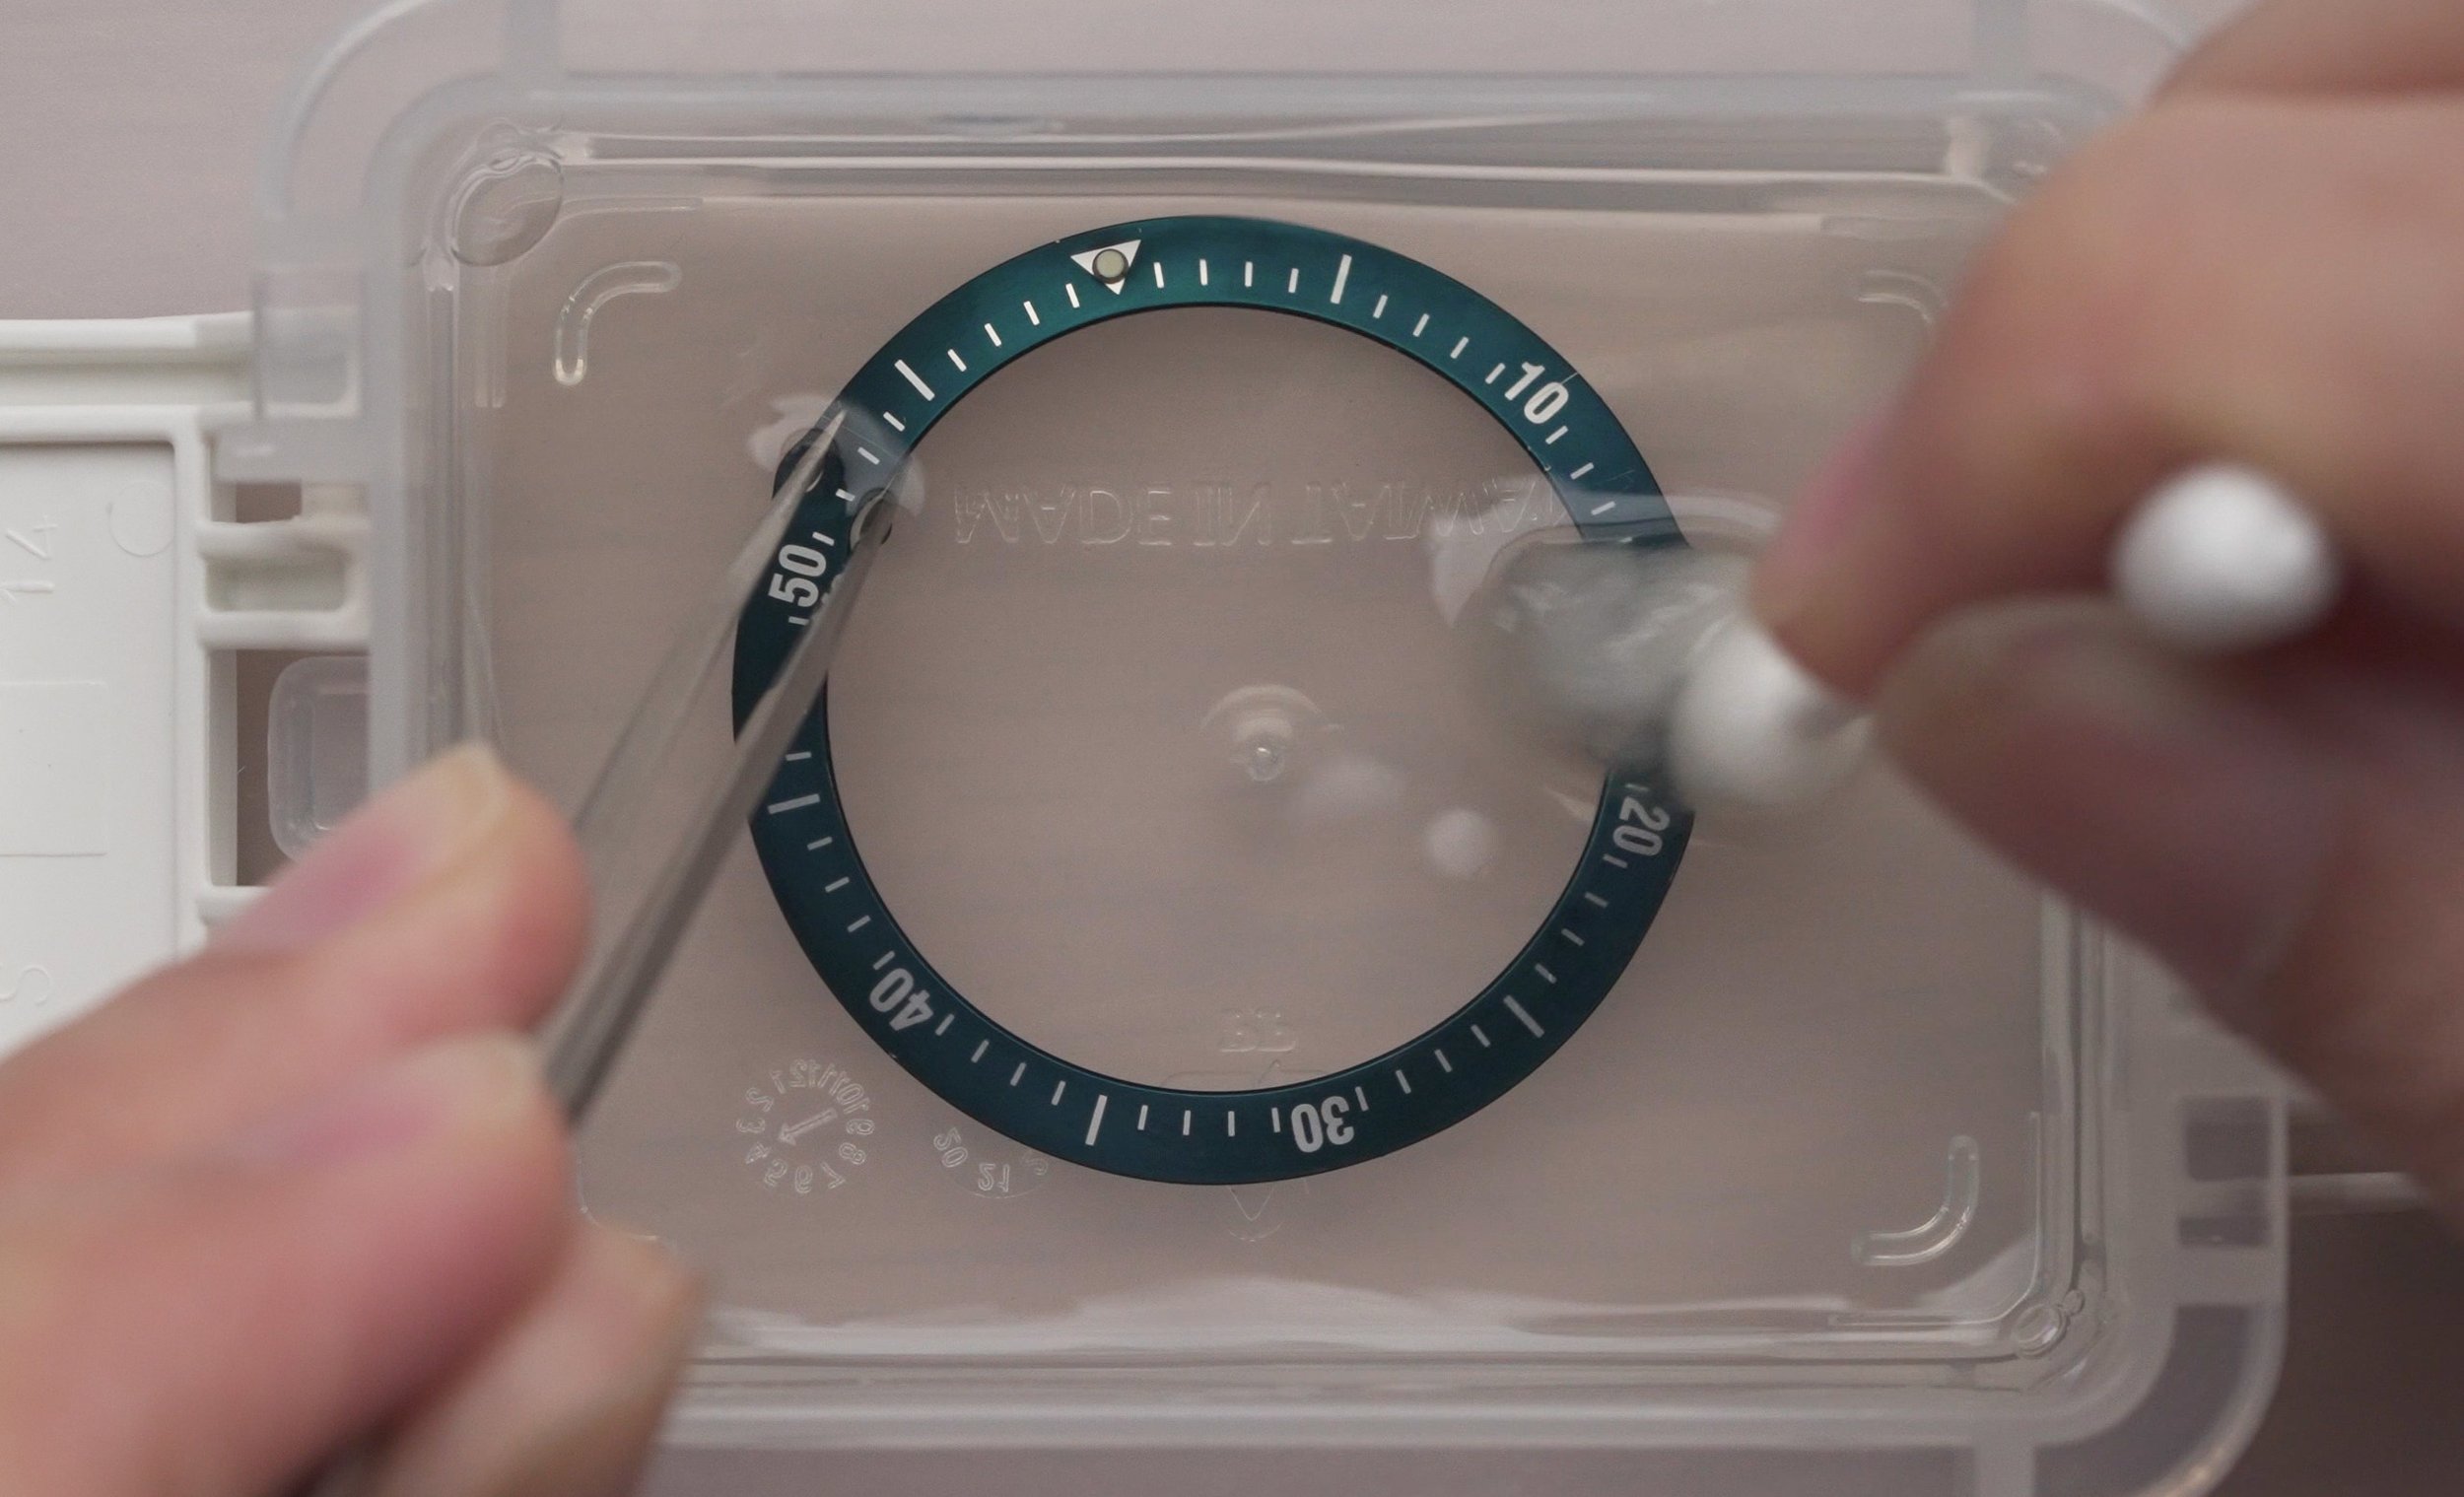
Before installing your case, you can opt to give your bezel insert a faded look by carrying out a process called “bleaching”. Learn how to do it via the button below:
If you need to reinstall any of the components, you can refer to this:
FINAL CHECK!

Check for proper watch functions by winding and setting time. When hands are being turned, check if they come into contact with other hands or parts.
Check for dust or dirt on crystal, hands, dial or other parts. If needed, you can remove the case to clean the inside.
Check if the case back and the screw-down crown is securely fastened. If not, water resistance capability of the watch might be compromised.