
How to Replace Seiko NH35 Rotor with Custom Rotor
A simple guide on changing rotor
Changing rotor is one of the easiest mods for beginners
Customization allows the watch lovers to personalize the watches to their preferences. Some prefer displaying their horological tastes by designing the dial, but some would rather keep a low profile. In this case, you can go for a custom rotor. When you turn the watch over, you will be greeted by the exclusive rotor through the transparent case back. In this article, we'll show you the tools and steps needed to change a Seiko NH35 rotor.
Tools Needed
This is used to tighten or loosen the central screw of the rotor.
A pair of tweezers
This is used to pick up the rotor. Picking up the rotor with bare hands may leave fingerprints or stain.
Case back opener/Friction ball
This is used to remove case back. Using improper ways to take the case back off may cause scratches.
Pegwood/Finger cots
They are used to check if the gears are engaging correctly, by rotating the rotor. You may use either one for this purpose.
Rodico & hand pump
To clean the rotor before closing the case back.
How to Change Custom Rotor
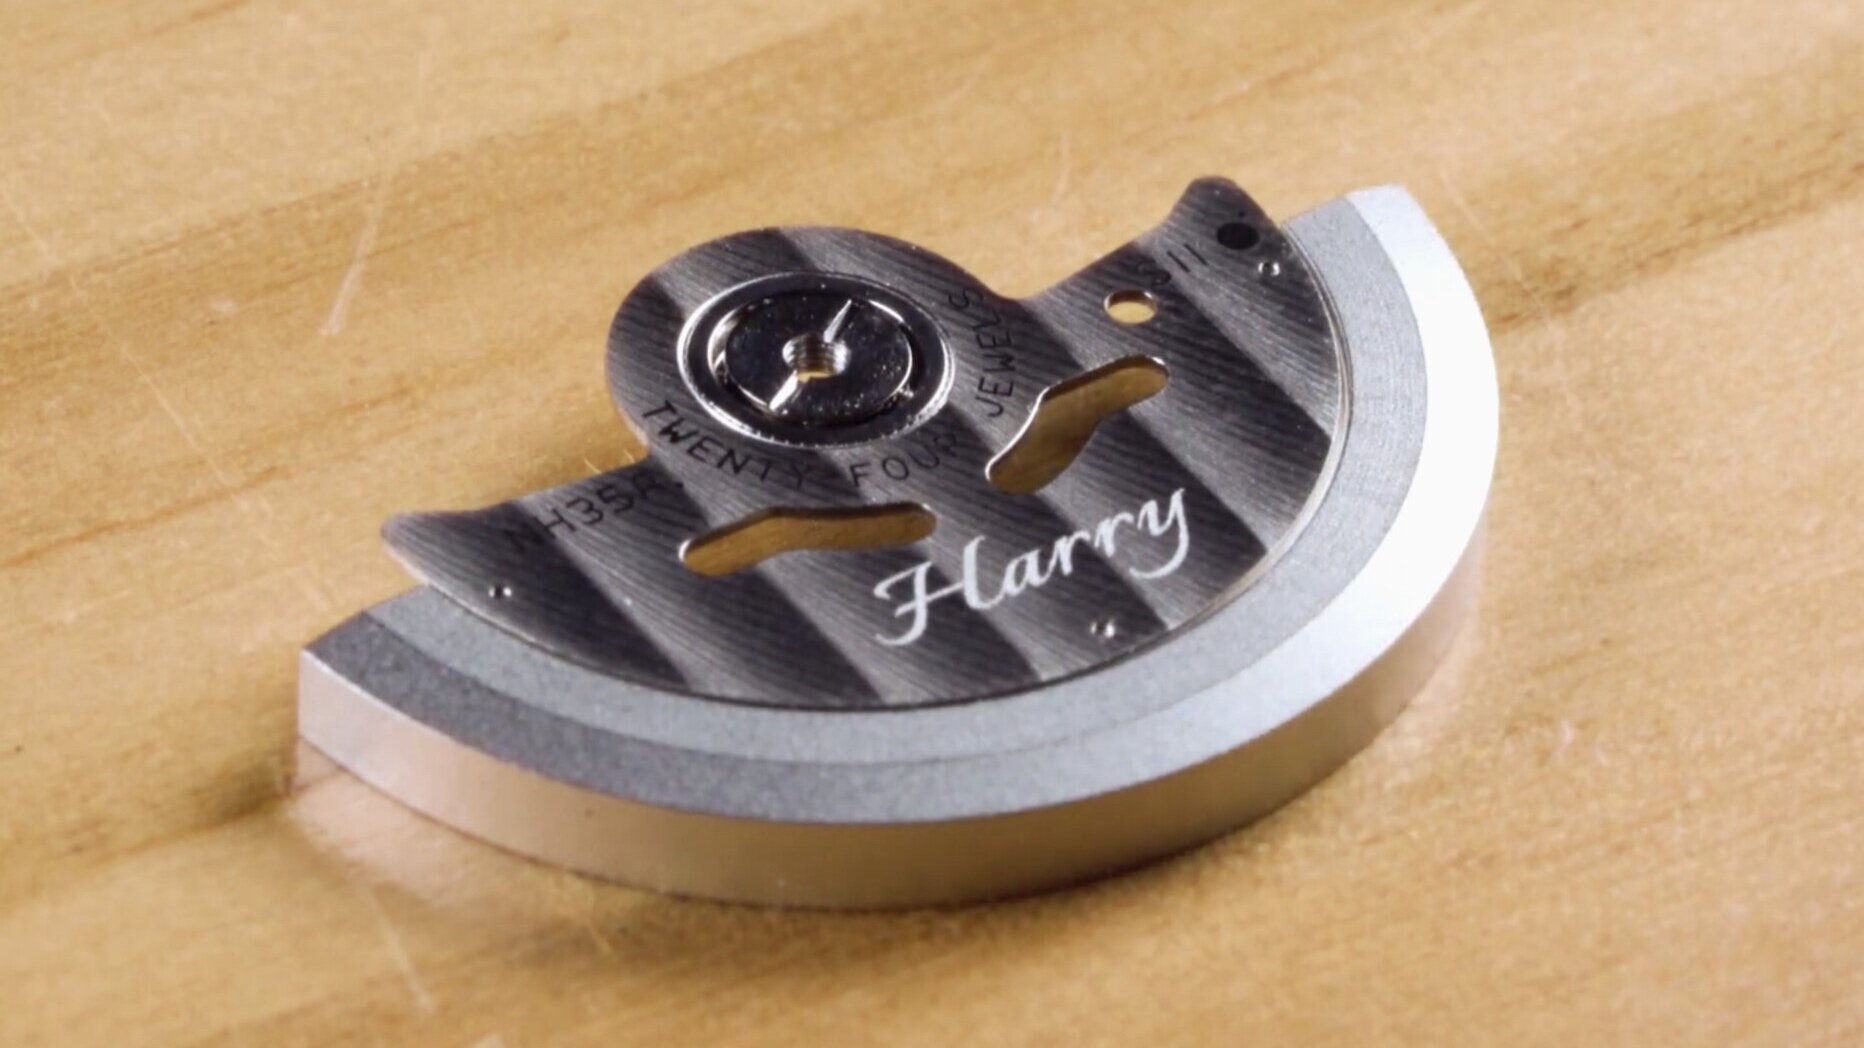
You may engrave your name onto the rotor at our online store
If you haven’t customized your rotor, we offer customized rotor service at our store.
Step 1: Removing case back
You want to align the pins of the case back opener to any three notches on the case back. Adjust the span of two pins on top of the wrench by turning the thumbwheel in between so that they fit into any two notches on the case back. Then you can turn the handle to adjust the position of the bottom pin. When all three pins align with the notches, use your index finger to apply firm pressure on the case back opener while your thumb presses against the crystal. In this way, it has a better grip so that the case back opener won't slip and scratch the case back. Turn the case counterclockwise to loosen the case back. Once you can feel that the case back is loose, use your hands to completely unscrew the case back. When setting down the case, put it with the internal side downwards so as to avoid collecting dust.
Sometimes, as is common with Seiko divers in factory conditions, the case back is very tight. In this case, secure the watch in a watch case holder, then perform the same procedure as above. The holder will allow you to exert a higher torque on the case back more easily. But remember to maintain the pressure between the opener and the watch (along with the holder) to avoid slippage.
Step 2: Finding the right screwdriver
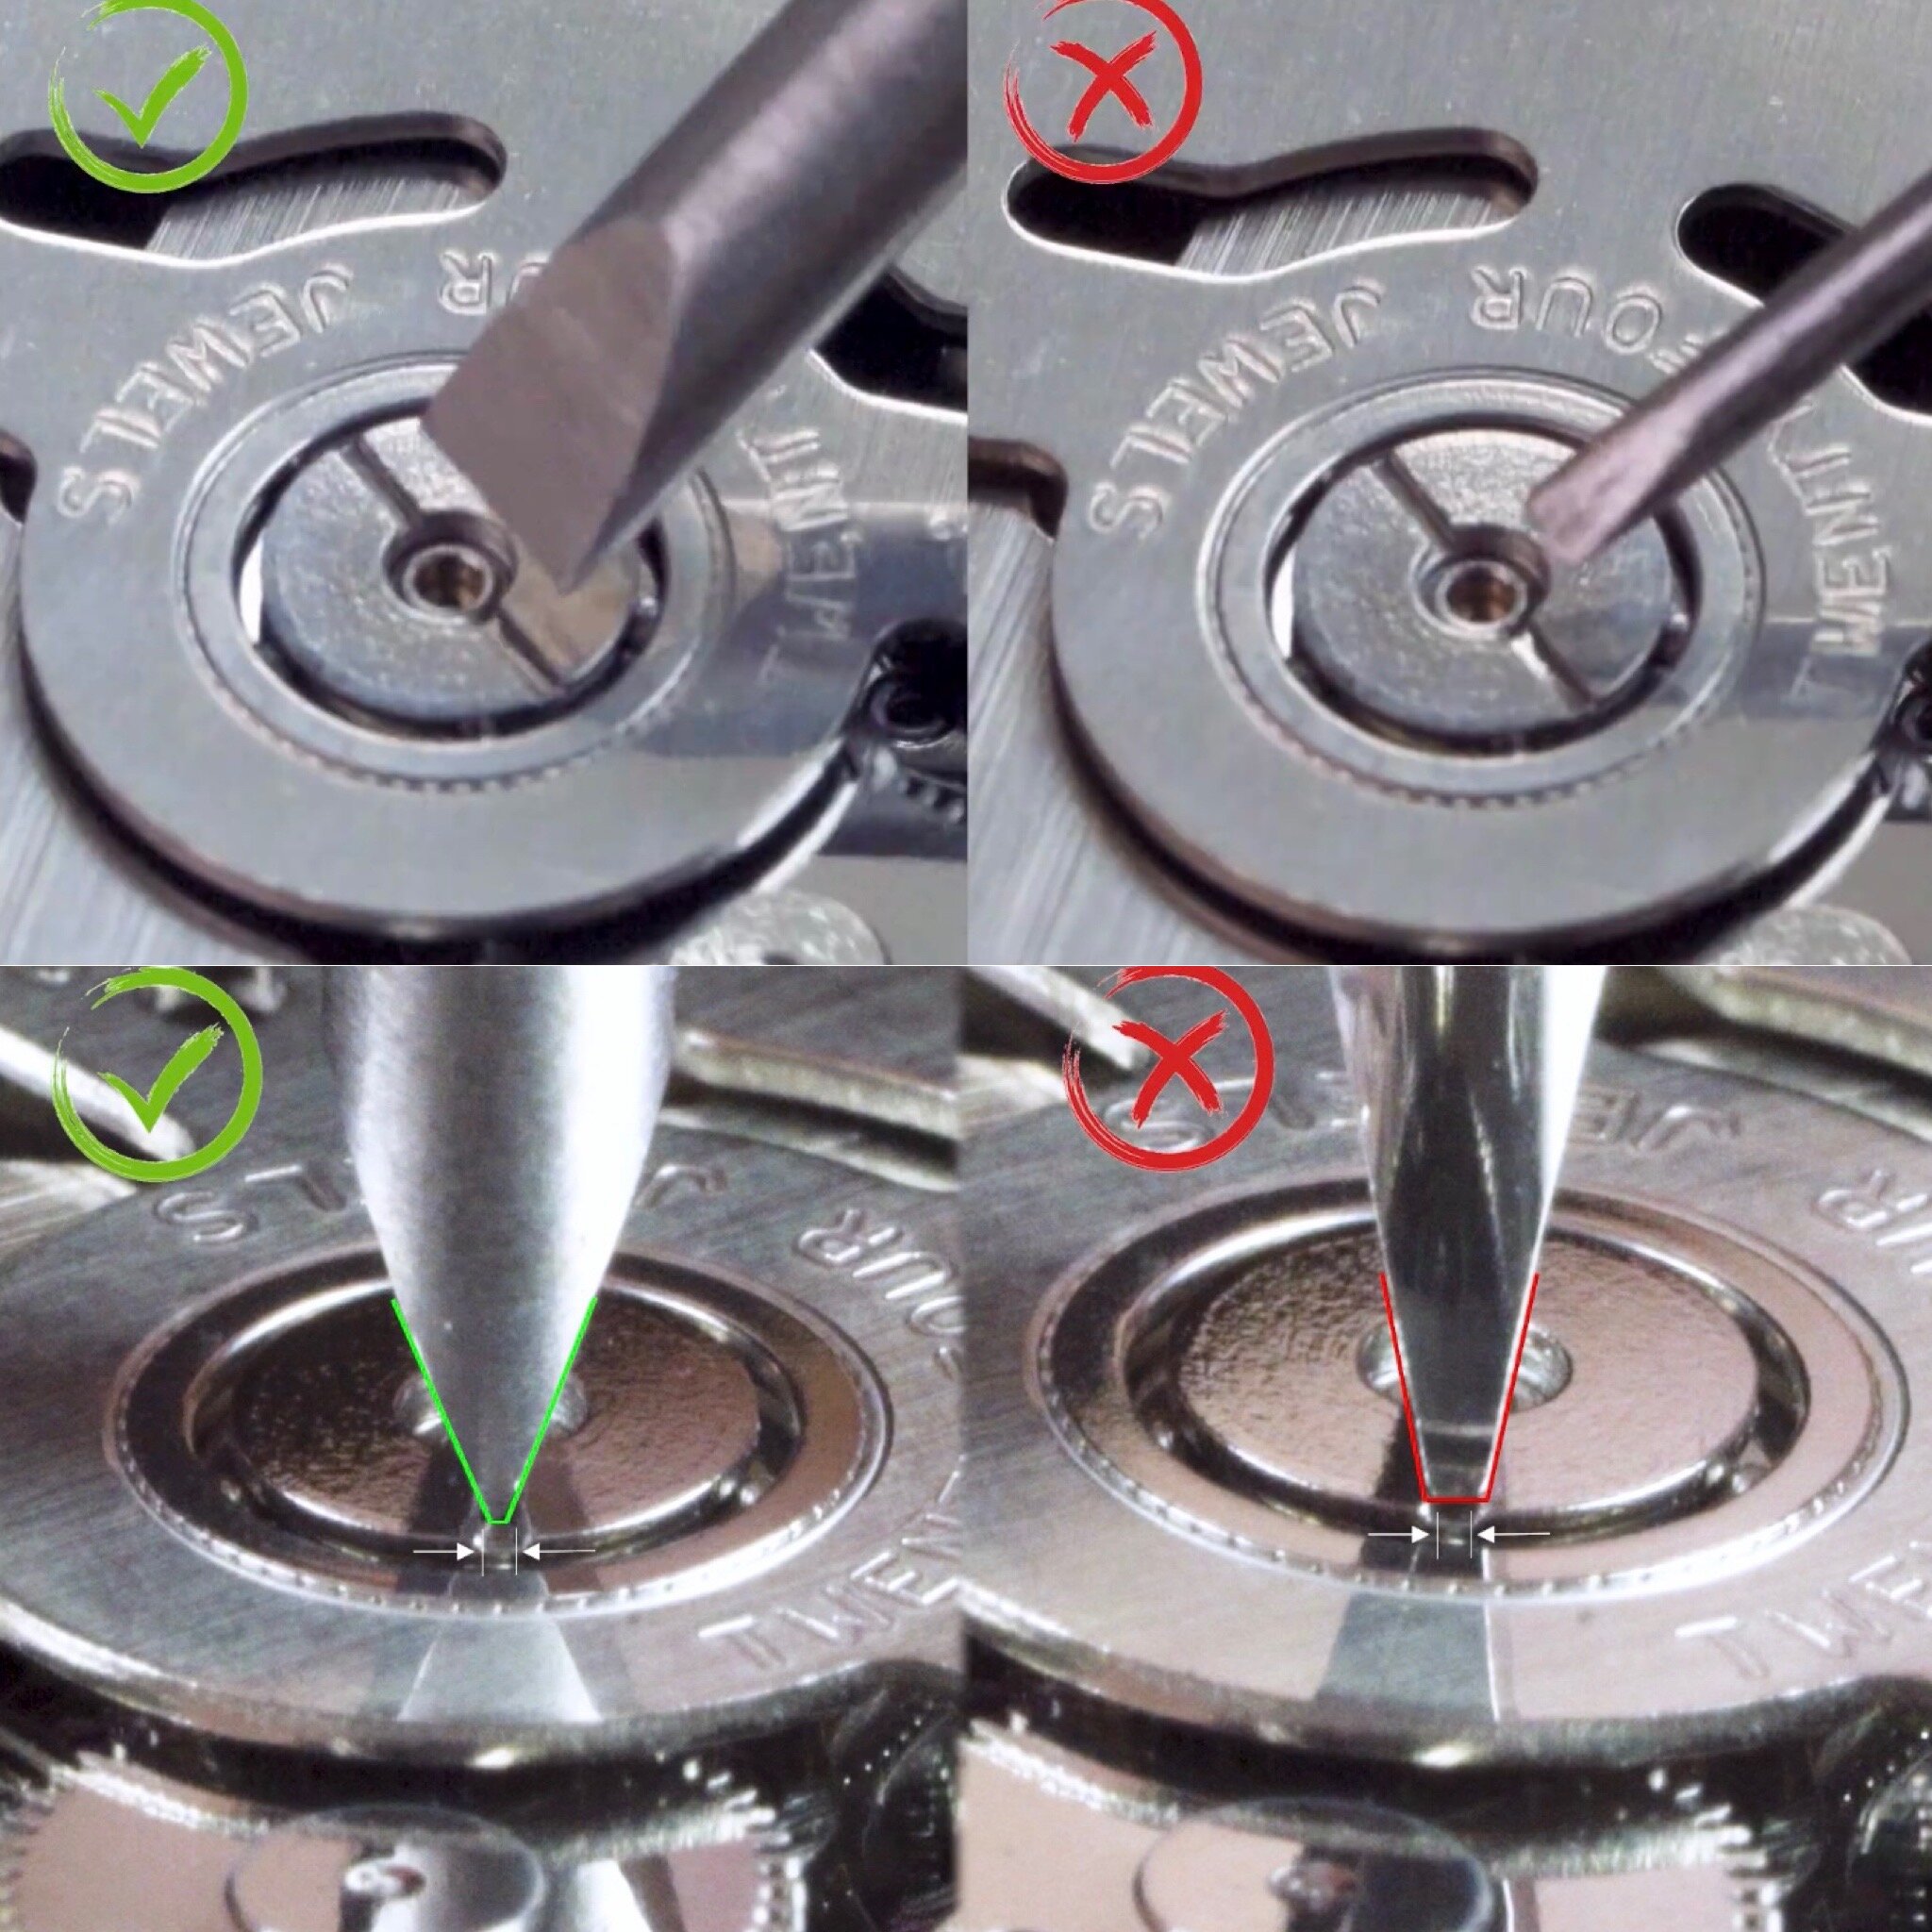
A screwdriver with right width and thickness makes unscrewing the central screw much easier.
To change the rotor, you want to unscrew the central screw that secures the NH35 rotor to the movement. But before removing it, it is essential to find the right screwdriver. Using the unfit screwdriver can cause it to slip easily and risk scratching the screw and the rotor.
Firstly, the width of the screwdriver should be similar with that of the central screw. If it's too narrow, it is difficult for you to turn the screw, while if it's too wide, the excess part may scratch the rotor. Beside that, the thickness of the screwdriver should also be just fit with the screw slot as well. If the screwdriver is too thick, you can not insert it into the slot but if it's too thin, the contact area between the screwdriver and the screw slot will be limited to the two ends of the screw slot, which exerts excessive pressure on those spots. This reduces the grip on the screw, causing it to slip more easily, and can dent the slot.
For the NH35 rotor, you want to find a screwdriver with the tip that is larger than 2.5 mm but also thin enough to fit in the slot. If you are not sure on where to find one, we have a CNC machined screwdriver that's specifically for this job on our online store.
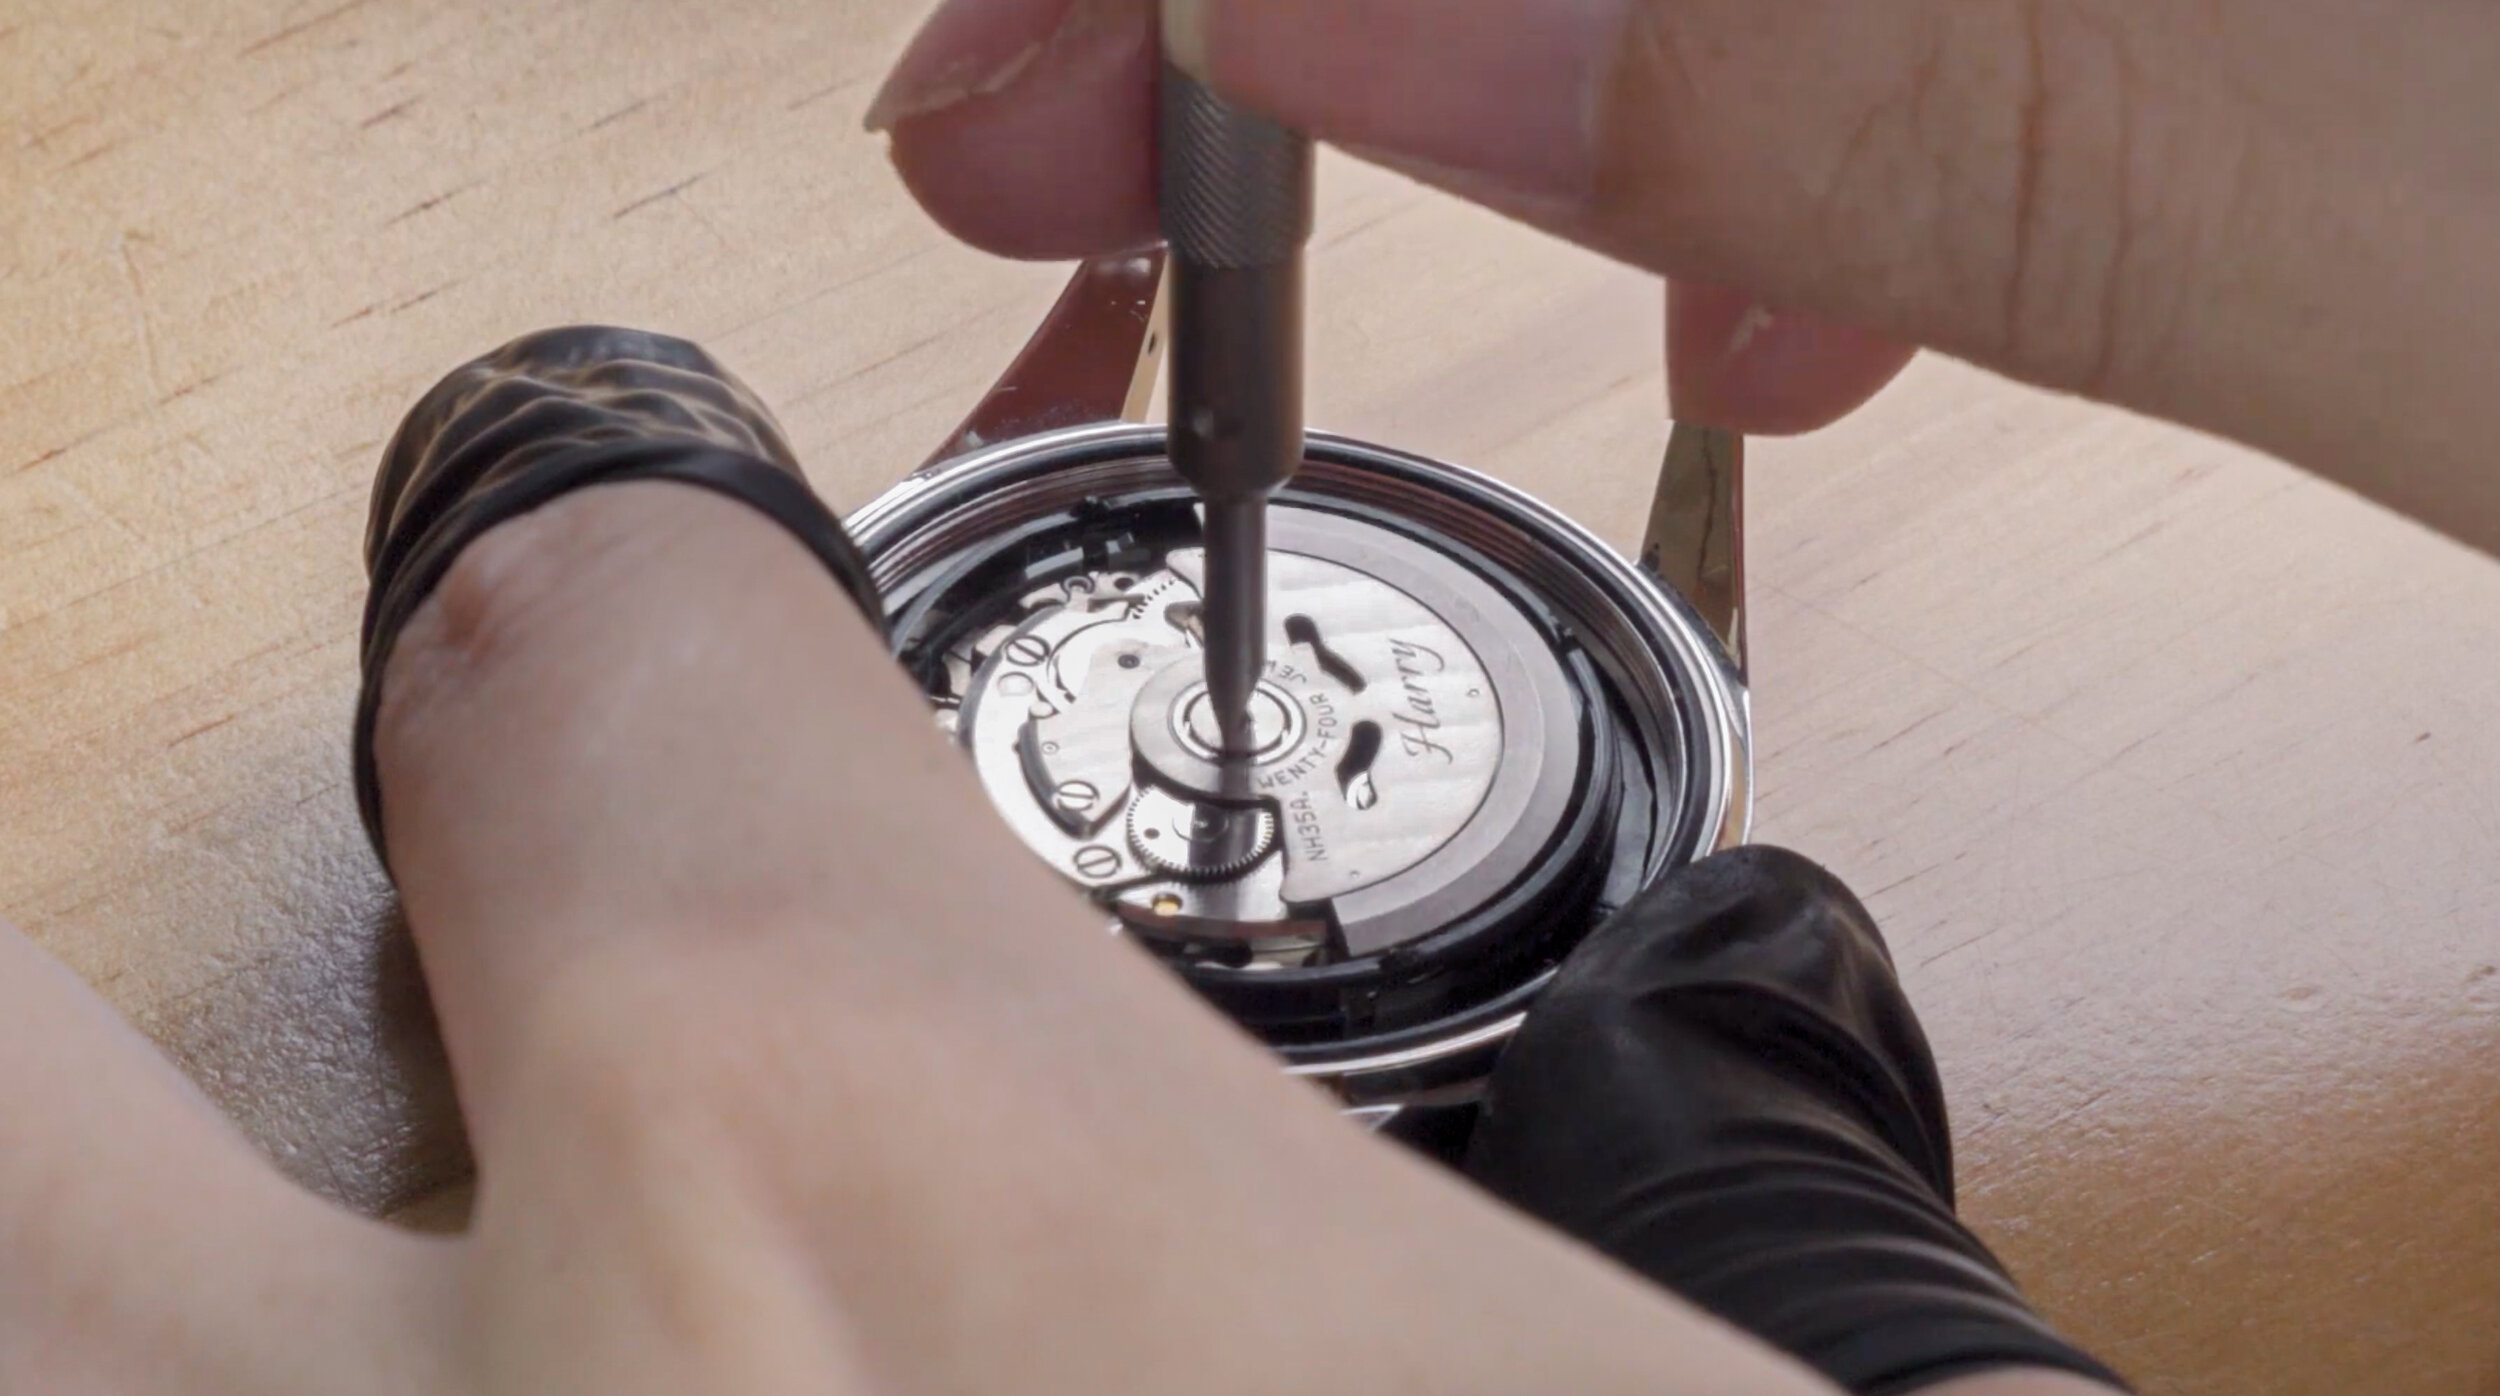
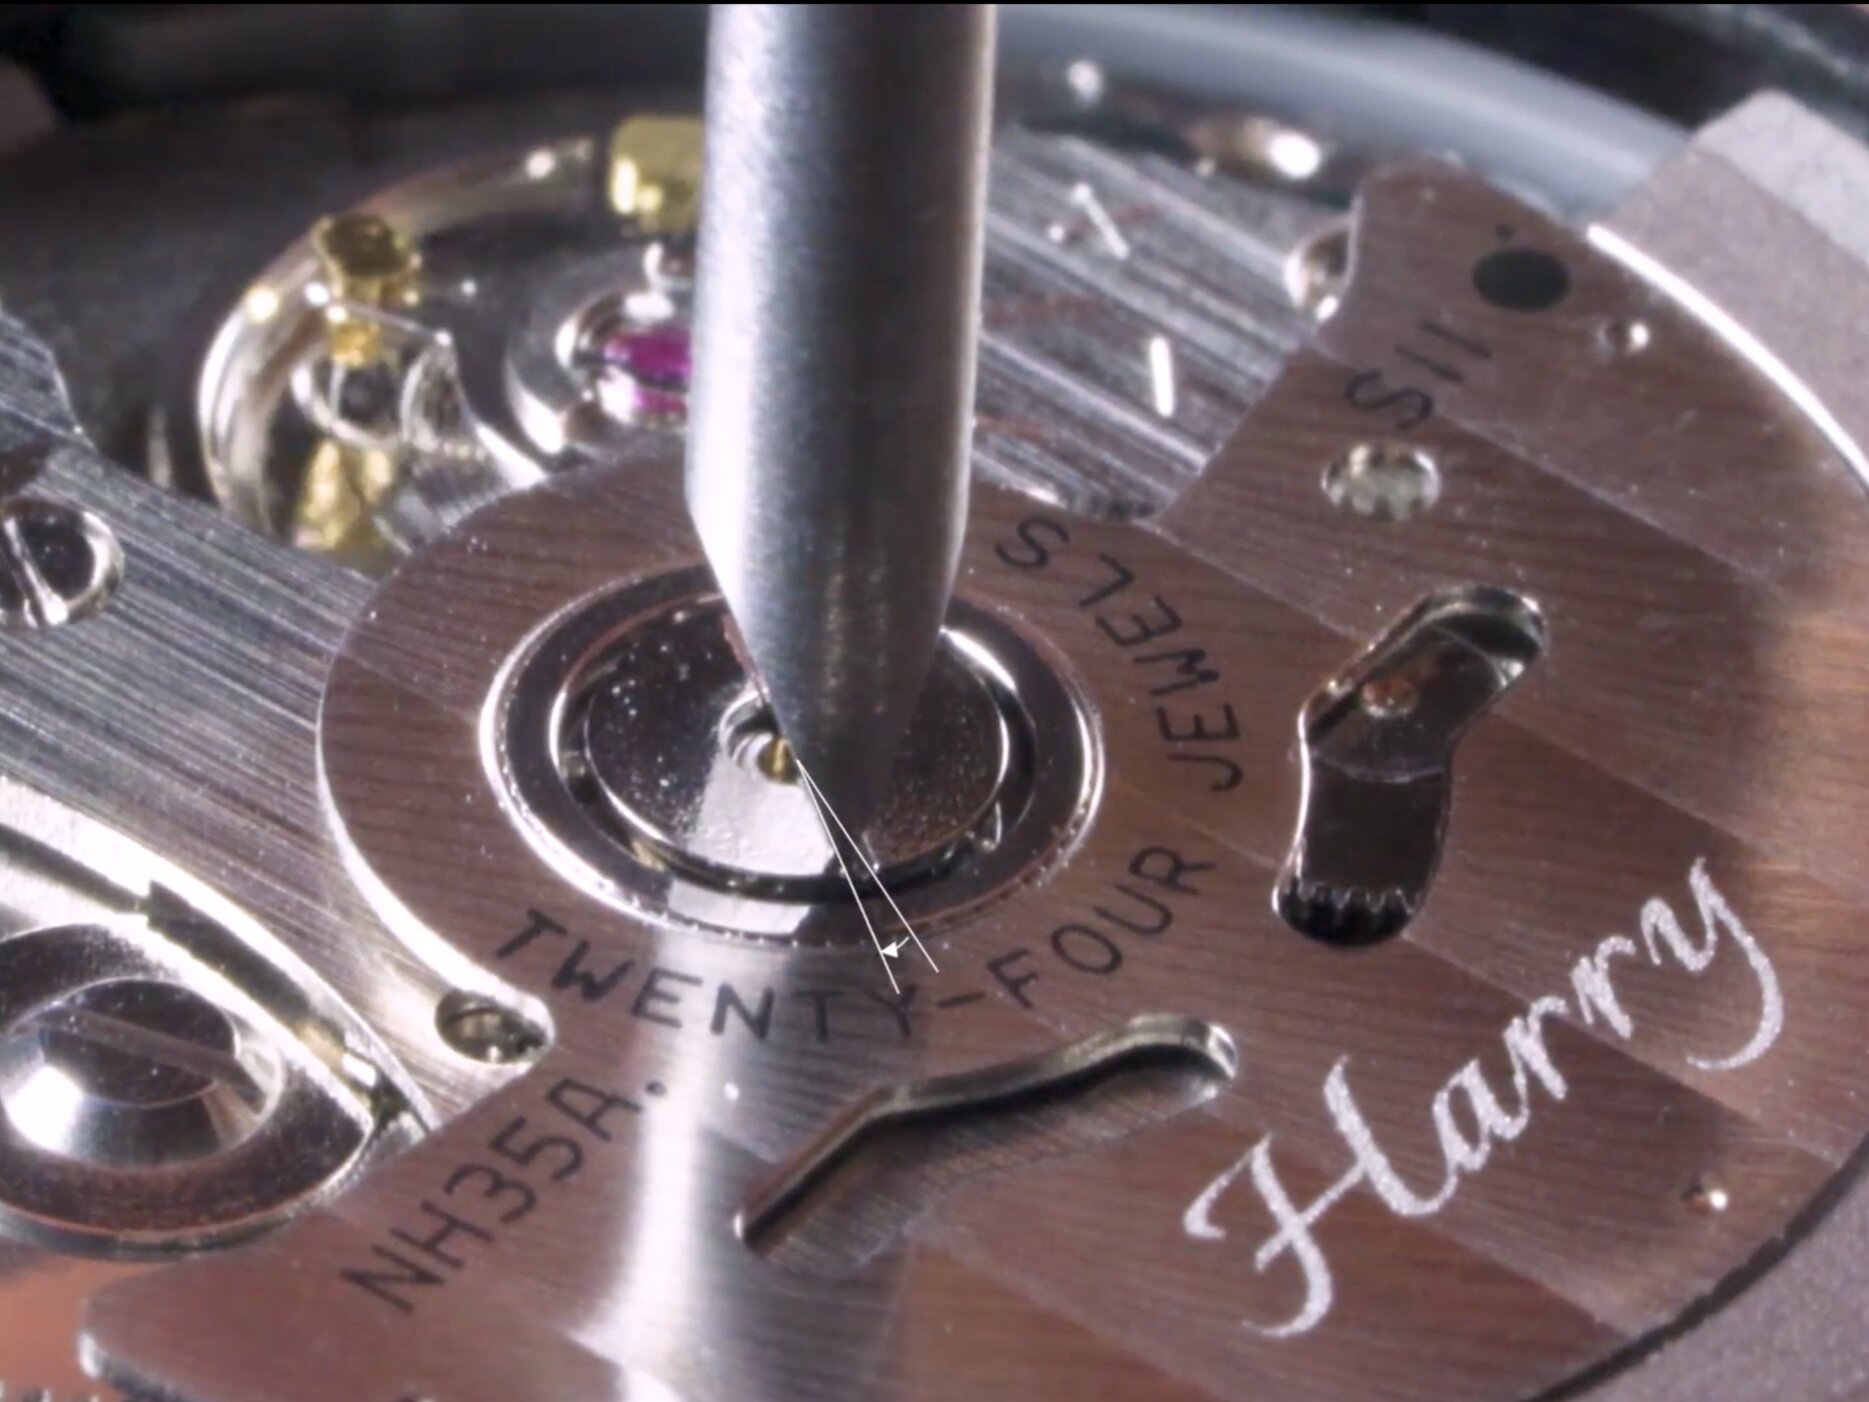
Step 3: Removing rotor
Now you can hold the watch by the case, and insert the screwdriver into the screw slot. You can turn the screw anticlockwise. Rule of thumb: Maintain a firm downward pressure from the end of the screwdriver and keep it perpendicular to the rotor. In doing so, it helps to avoid slipping and to make sure the screw is angled correctly when installing. Initially the screw should be quite tight, so it is a good practice to slowly increase the turning force until it gets past the initial resistance point. From then on, the screw should be much easier to turn. Keep turning to unscrew the rotor. Once it's loose, remove the rotor with a pair of tweezers and place it aside. Remember not to touch the rotor or the movement with your bare fingers as that'll leave a stain on the rotor.
Step 4: Putting on new rotor
An extra 5 degrees of turn will sufficiently tighten the screw.
You may now put on your new custom rotor on your movement. Pick it up with a pair of tweezers. To securely pick up the rotor, you may carefully hold it in horizontal direction with the thicker part of the tweezers. Place it onto the central post of the screw and screw the rotor in loosely. Same as removing the rotor, remember to keep a downward pressure and perpendicular to the rotor. You may stop turning when you feel resistance on the screwdriver. Then you can use a piece of pegwood or a finger with a finger cot to rotate the rotor, and check if the gears are engaging correctly. If so, you can proceed to tighten the screw. An extra 5 degrees of turn will sufficiently tighten the screw. Do not over tighten it or you'll risk damaging the screw thread. If the gears are not engaging, probably the rotor is not correctly installed. You can simply unscrew and install it again.
Step 5: Final check
After ensuring all the components are working properly, you need to check if there's any dust or foreign elements on the rotor and movement. They do not only affect the appearance of the watch, but may also affect the function of the watch. Clean the rotor with a hand pump and Rodico before closing the case back.
After closing the case back, give the watch a few shakes and listen to the sound the rotor is making. A normal rotating sound is fine, but if it is making some rattling or metal scratching noise, that means the rotor is loose. You’ll need to reopen the case back and tighten the rotor.
You can see it all in action in the video tutorial below:
On a side note, some older designs of the Seiko rotor are prone to loosen up over time. So if you start to hear that rattling noise, you can follow our guide on fixing loose rotor to fix that.
That's it!
This is how you change your custom rotor. You can now enjoy your newly personalized watch!


Blued hands and screws are ubiquitous existences in the history of watchmaking. Behind that frequent appearance though is a history and science that go beyond the aesthetic value of flame bluing.