How to Regulate a Watch using a Timegrapher
The proper way to improve the accuracy of your watch
Time regulation in action: regulation imrpoves the accuracy of your watch
If you notice your watch seems to be gaining or losing time consistently, it might be time for a regulation. But don’t worry. Although regulation is a job usually delegated to watchmakers, with sufficient knowledge and proper equipment, you can regulate your watch at home as well. Here is a quick video guide to get you started:
What is regulation
First off, let’s clarify what “regulation” means. Regulation, in the sense used by watchmakers, means the work done to a watch when it runs consistently faster or slower. Note that the important distinction is consistency, and that distances “regulation” from “adjustment”, which refers to the work done to a watch when it runs with different rate under different conditions (e.g. in different positions, like dial up vs dial down). Adjustment is much more complicated than regulation, and should not be attempted by non-professionals.
Note of caution: with regulation, you are accessing and manipulating the inside of the movement. One slip up could mean the death of your watch. So proceed with extreme care and caution.
Before regulation: common cause of inaccuracy
Magnetism
With the pervasiveness of electronic products nowadays, magnetism is the no.1 cause for inaccuracy. A mechanical watch could be magnetized if placed near an electronic product, say your iPhone, for a significant amount of time, or simply when it is exposed to magnetic influence. You can tell a watch has probably been magnetized if it runs exceedingly quick, and in some rarer cases, slow. Luckily, demagnetizing a watch is a relatively simple process.
Movement hygiene
“Hygiene” in this particular context means “the absence of foreign elements inside the watch”. This could be small debris, tiny strands of fiber, or even hair. Any foreign elements caught in the gear train of the movement can slow down or even stop the movement. Therefore it is imperative to maintain clean working environment, and always wear finger cots.
Mechanical shock
A mechanical movement functions quite literally by the movement of its mechanical parts. Some of these parts, like the levers we are going to talk about, are especially susceptible to external force as they are movable. If they are moved, the accuracy of the movement can be affected, and in most cases, regulation can be of help here.
What is a timegrapher
On the internet you can find multiple ways to regulate a watch; some even say you can do it with just an app. But the proper way to diagnose and regulate a watch is by using a timegrapher.
A timegrapher is a device that tells you more than just the accuracy of a watch. Through the built-in microphone, it picks up the ticks and tocks of the watch and calculates indicators of the general health of the movement. So a functional timegrapher gives you many useful pieces of information that you can use to determine the condition of the movement.
What do the numbers mean
When the timegrapher is running, it’ll show 4 numbers on screen. Each number tells you an important piece of information about the condition of the watch tested:
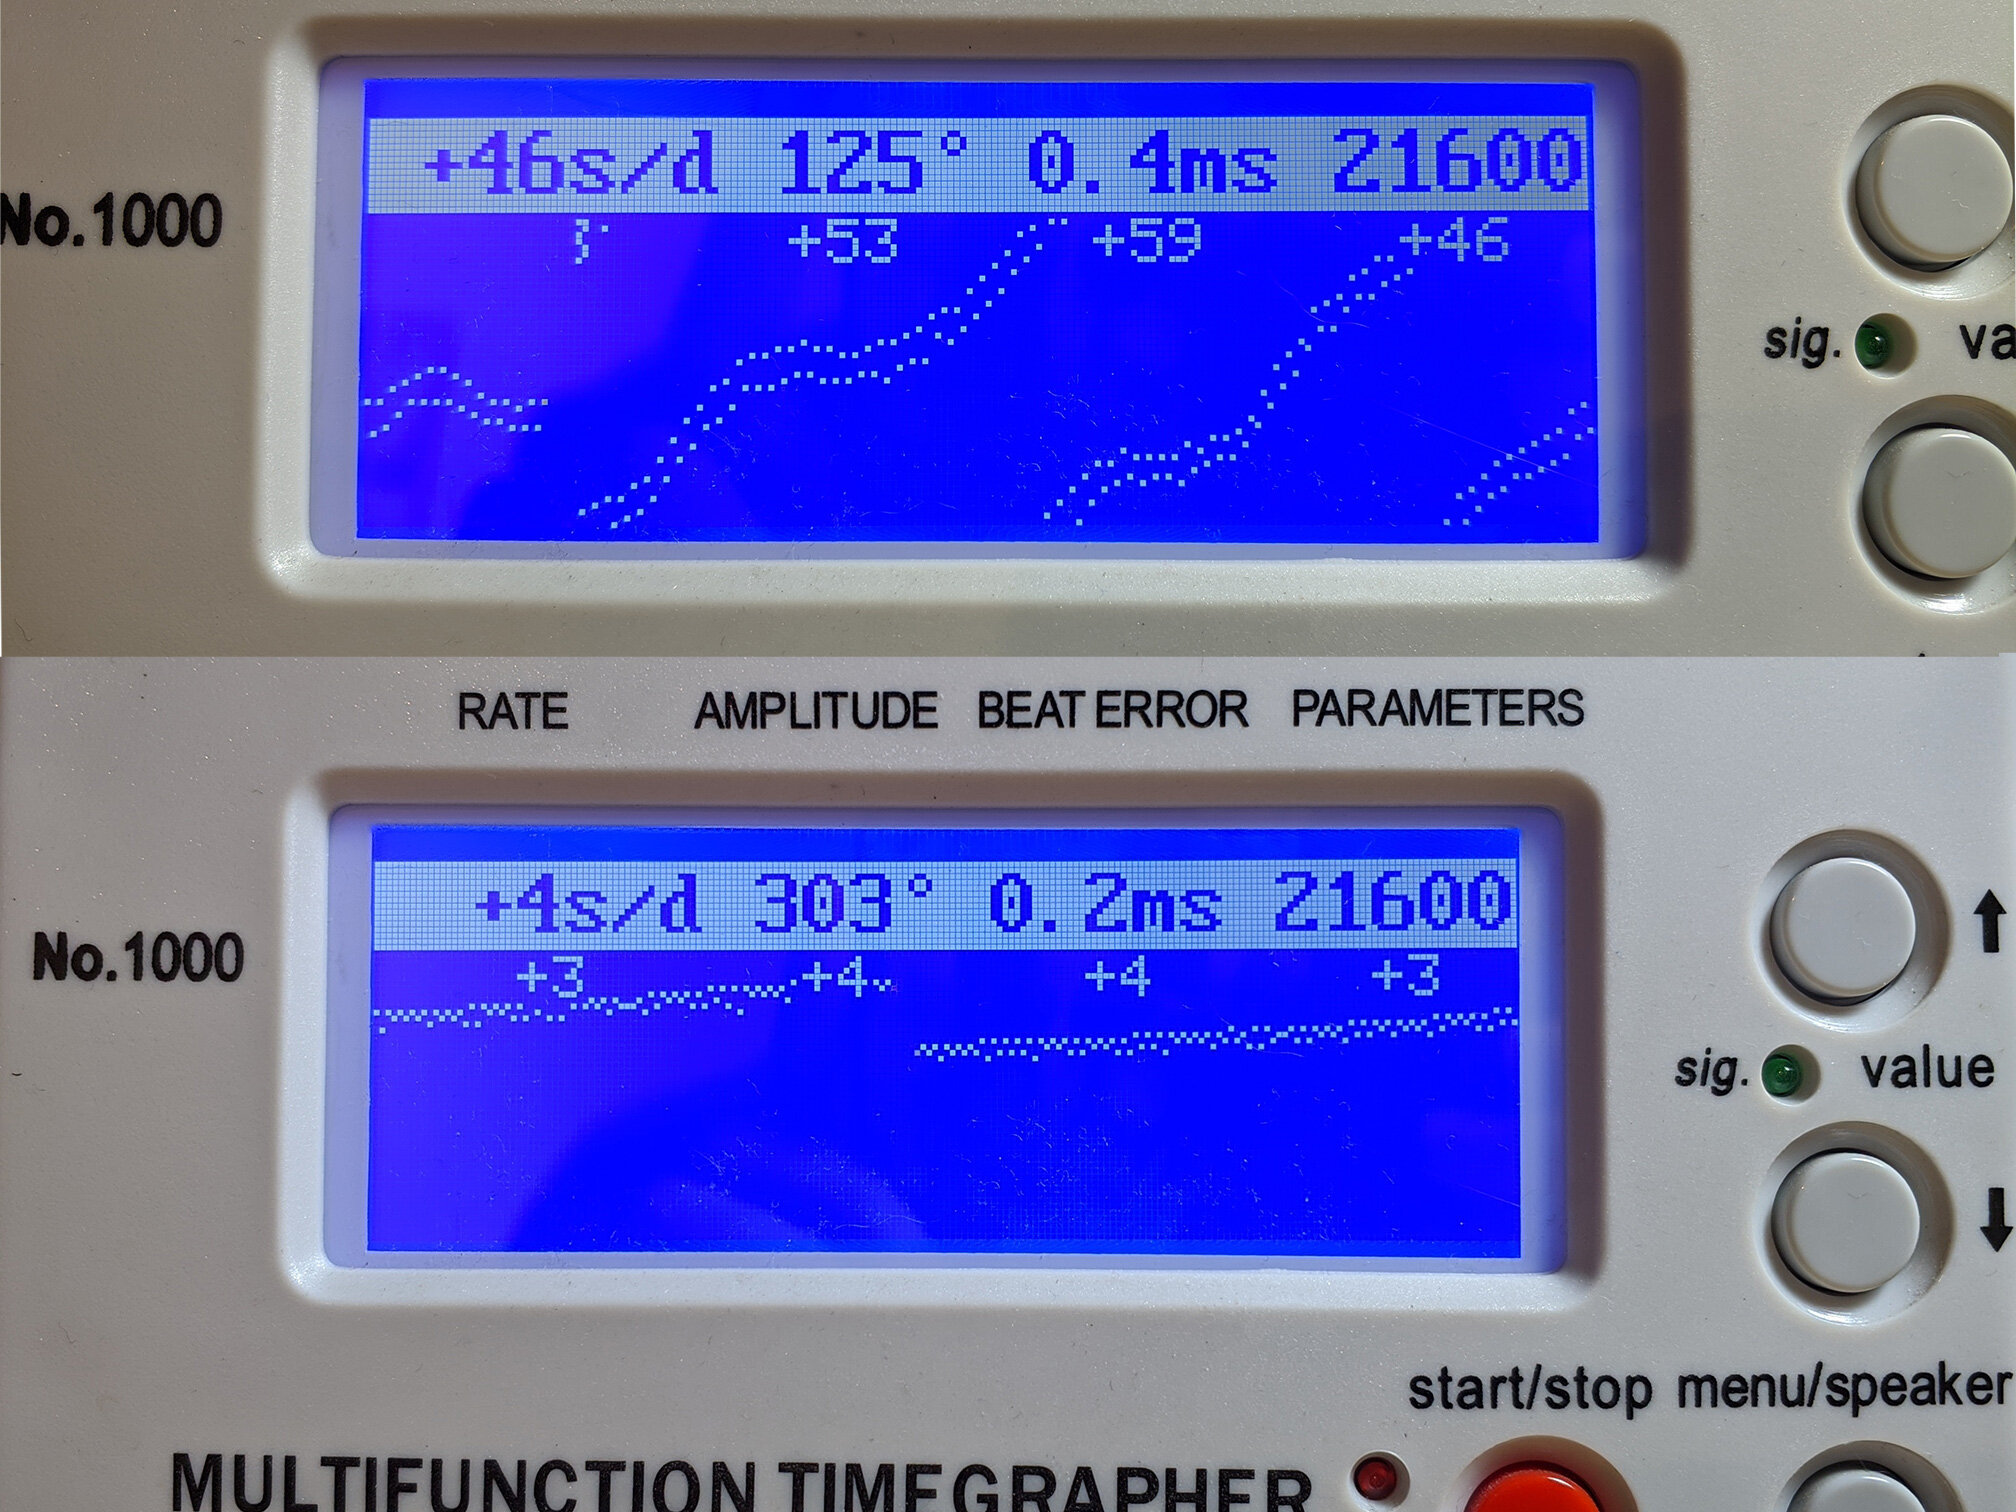
On top of the screen, these 4 numbers are displayed: rate, amplitude, beat error, and parameters. Note that the smooth line, rate of +4s/d, and pretty good amplitude indicate a healthy movement
Rate
This is the number most people are looking for. Labelled in s/d, it tells you the time error in seconds per day. So, if it says +3s/d, that means the watch gains 3 second per day.
Amplitude
This tells you how much rotation is in one full swing of the balance wheel, and is an important piece of information in determining the health of the movement. A healthy movement should, at full wound, have a high amplitude, in the range of 280-320. A low amplitude generally indicates problems that needs to be fixed prior to regulation, like obstruction due to foreign elements, oil drying up, etc. But anything above 250 degrees can still be considered healthy amplitude.
For your reference, a Sellita SW200 has a factory rated maximum amplitude of 315 degrees and minimum amplitude of 210 degrees, and general consensus for the maximum amplitude of a Japanese movement (like Miyota and Seiko) is in the range of 270-315 degrees, while an amplitude above 230 is considered acceptable.
Beat error
This figure is a bit abstract to understand, but simply put, it’s the time difference between the “tick" and the “tock”. Normally they should be of equal length, but if the balance wheel swings more in one direction and less in the other, one tick will be longer than one tock. This does not affect the accuracy of the watch unless in extreme cases, but in the long run, beat error can cause uneven wear. A high beat error prevents the watch from self starting i.e. it does not start running by itself when wound from a unwound state, and requires you to swing the watch to start running. An exceedingly high beat error, on the other hand, can cause a problem called “rebanking” or even stop a movement.
Parameters
This figure should alternate between two numbers: one 5-digit number, and one number in degrees. The 5-digit number is the beat frequency, meaning how many ticks are there within a second. (e.g. 21,600bph, or beat per hour, would translate to 6 ticks per second). This is usually automatically detected by default setting, but if the detection is wrong, it can be manually set.
The degree is lift angle. This should be set manually prior to using the timegrapher (see below for instructions), and the number varies from movement to movement. The official specs of a movement should tell you the exact number.
Setting up the timegrapher
To set up the timegrapher, by default setting, you only need to enter the lift angle, which depends on the model of the movement. This can be found online easily (for example, Seiko NH35 has a lift angle of 53, while that of Miyota 8 is 49). This figure is used by the timegrapher to calculate the amplitude of the movement.
Beat rate is by default set to “auto”, and should be left as is. This instructs the timegrapher to detect the beat rate automatically and this is generally reliable.
This is what the setting screen looks like. By default only lift angle needs to be set.
How to regulate a watch: step by step
1. First, wind the watch to full wound, and place the watch between the clamp to start reading. The built-in microphone will pick up the tick-tocks of the watch and output a stream of reading. There will be two lines on screen. If the lines are slanting upward, that means the watch is fast, and if downward, slow. The distance between the lines represents beat error. The closer the lines, the lower the beat error. And if the lines are irregular, that points to a greater problem, which is when you should get the watch to a professional watchmaker for a detailed check-up.
Observe the lines: the top line shows signs of an unhealthy movement — instable line and low amplitude. After correction you should see a line like the bottom one: high amplitude, stable line, accurate rate.
2. If the lines are straight and consistent, you can check the amplitude. At full wound, it should be in the range of 280-320. An aged movement might have a lower amplitude. A very low amplitude (lower than 200) would necessitate a checkup by a professional watchmaker.
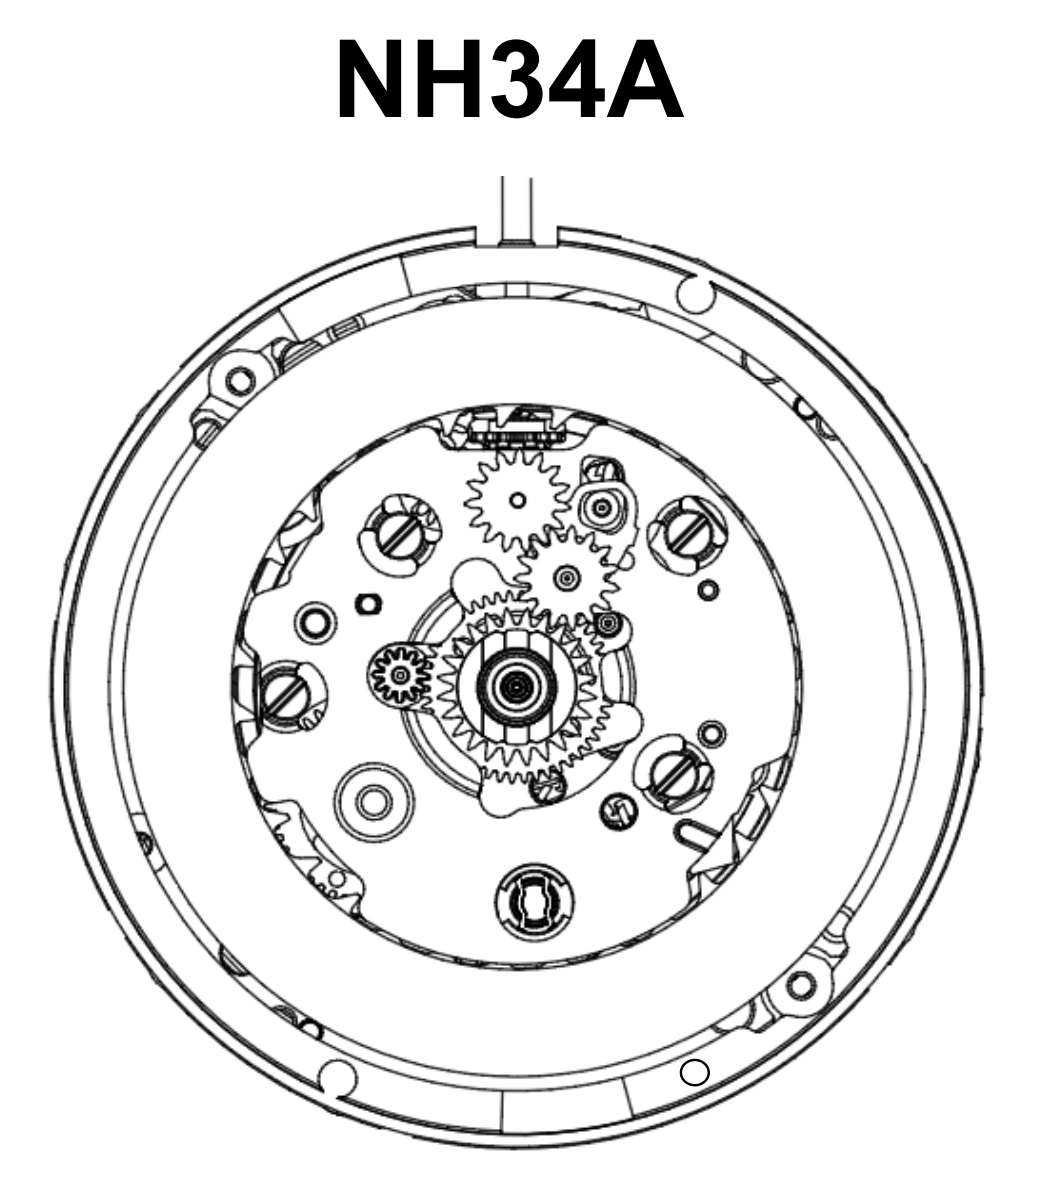
3. Next check the beat error. A beat error lower than 0.6ms is considered acceptable. If adjustment is needed, turn the watch over to its back and open the case back to access the back of the movement. On top of the balance wheel, there should be two levers. One lever is attached to the end of the hairspring. This lever is called mobile stud carrier. The other is somewhere near the end of hairspring, and is called regulator. To change beat error, you want to move the stud carrier.
(Click to zoom in) The two levers: no.1 is the stud carrier (notice it’s at the end of the hairspring), and no.2 is the regulator
Use a pair of tweezers for this, and move the stud carrier until the beat error comes into acceptable range. Key points: steady hand (good idea to stablize your hand on something stable) and move just a tiny bit at a time (in most cases that’s all the adjustment you’ll need). Do not be alarmed if the rate changes while you’re manipulating the stud carrier; it is natural for rate to change as you are essentially changing the distance between the regulator and stud carrier, and therefore the effective length of the hairspring.
(If the stud carrier is a fixed one — common in older movement — then beat error correction requires dedicated tools and is considerably much more difficult. In this case, it is recommended to leave the work to the professionals.)
4. Then you can move on to the rate. Move the regulator to change the rate. Usually there is a + / - indication on the movement to tell you which direction to move the lever to. Move it toward + to gain time, - to lose time. Same rules: steady hand, and move in tiny bits. Some movements have a fine tuning mechanism in form a screw or a “swan neck”, in which you can turn the screw clockwise or anticlockwise for the same result.
A rate of +/- 10 is considered pretty good. We prefer erring on the positive side as it is better to arrive early than late. And closer to zero is better. If you so desire, you can spend more time to get it closer to zero.
5. Close the case back and check the movement again in dial up position. If nothing bizzare happens, then regulation is complete.
How often can regulation be done
There is no limit on how often you can regulate a watch. General consensus is that it is a good pratice to check your watch on a timegrapher periodically, so as to monitor the health of the movement. But don’t get too neurotic about this, as daily fluctuation is normal as conditions like temperature play a part in influencing the performance of a movement. So you don’t notice any marked difference in its performance, it’s safe to just let your watch ticks its way.


Blued hands and screws are ubiquitous existences in the history of watchmaking. Behind that frequent appearance though is a history and science that go beyond the aesthetic value of flame bluing.