Water Resistance Test Done Properly
Water resistance test with a water pressure tester
Water resistance test in action: A water pressure tester for “wet test”
Water resistance technology has progressed by leaps and bounds for the last decades. The first Rolex Oyster was quite the rage being the first waterproof watch in history. But even a dress watch like Rolex Cellini nowadays has a WR rating of 10ATM. And then of course you have water resistant powerhouse like Omega Ultra Deep Professional, which has a staggering depth rating of 15,000M.
With this boom of technology comes an increasing need to verify the water resistance capability of your watch. This comes as no surprise as an important component of water seal, a gasket, naturally degrades. You don’t want to go to beach with your precious dive watch only to find out in the worst way possible that the gasket has failed. That’s why many watch people have a water tester in their arsenal — you want to be very, very sure before taking your watch to the pool party tomorrow.
Types of water resistance test
With that in mind, it’s good to know that water resistance test isn’t rocket science. It’s simply putting pressure on the watch and see if it can withstand. Water resistance tests can be divided in two broad categories: dry test and wet test. Dry test, or something referred to as air test, is done with a vacuum tester, by measuring the amount of warping of the crystal in a vaccum chamber. Wet test, on the other hand, is done with a pressure tester, by pressurizing the chamber before placing the watch into water, and then depressurizing the chamber with the watch submerged in water. Any leaks are revealed by air escaping the watch as bubbles. After wet test, an additional test called condensation test can be done. The watch is heated, and then a cold drop of water, or ice, is placed on the crystal. If any water found its way into the case in the wet test previously, it will reveal itself as condensation on the underside of the crystal.
An example of dry test: vacuum tester. The probe under the gauge measures the warp in the crystal under vacuum condition
These tests all have its place in testing water resistance. A dry test is safer in general, as no water is involved. But it cannot specify the level of pressure applied and can only prove a watch is airtight to a certain degree. Thus it is best understood as a test whether there is any leaks. Wet test, on the other hand, can specify the level of pressure applied onto the watch, but runs the risk of water ingression if done incorrectly.
For personal use, we’d recommend wet test, for a simple reason. While an industrial grade pressure tester that tests to 1000M costs a fortune, a 6ATM tester is actually quite affordable for home DIY purpose. And with a pressure tester, you can always be flexible with the pressure level you want to test your watch to.
How does a pressure tester work
A pressure tester works on one principle: air flows from high pressure areas to low pressure areas. When the chamber is pressurized, if there is any leak in the watch case, air will get into the case, and when the chamber is depressurized, the air will escape the case, and in the water you’ll see it escaping as bubbles. This design has a major benefit: because it is extra air that comes out from the case, no water will go into the case, given that the test is done properly, with the watch withdrawn from the water immediately once the point of leakage is confirmed.
How to use a pressure tester to test waterproofness
This guide is applicable to pressure testers like the Bergeon 5555/98 water pressure tester. There are a few things you should know before carrying out the test:
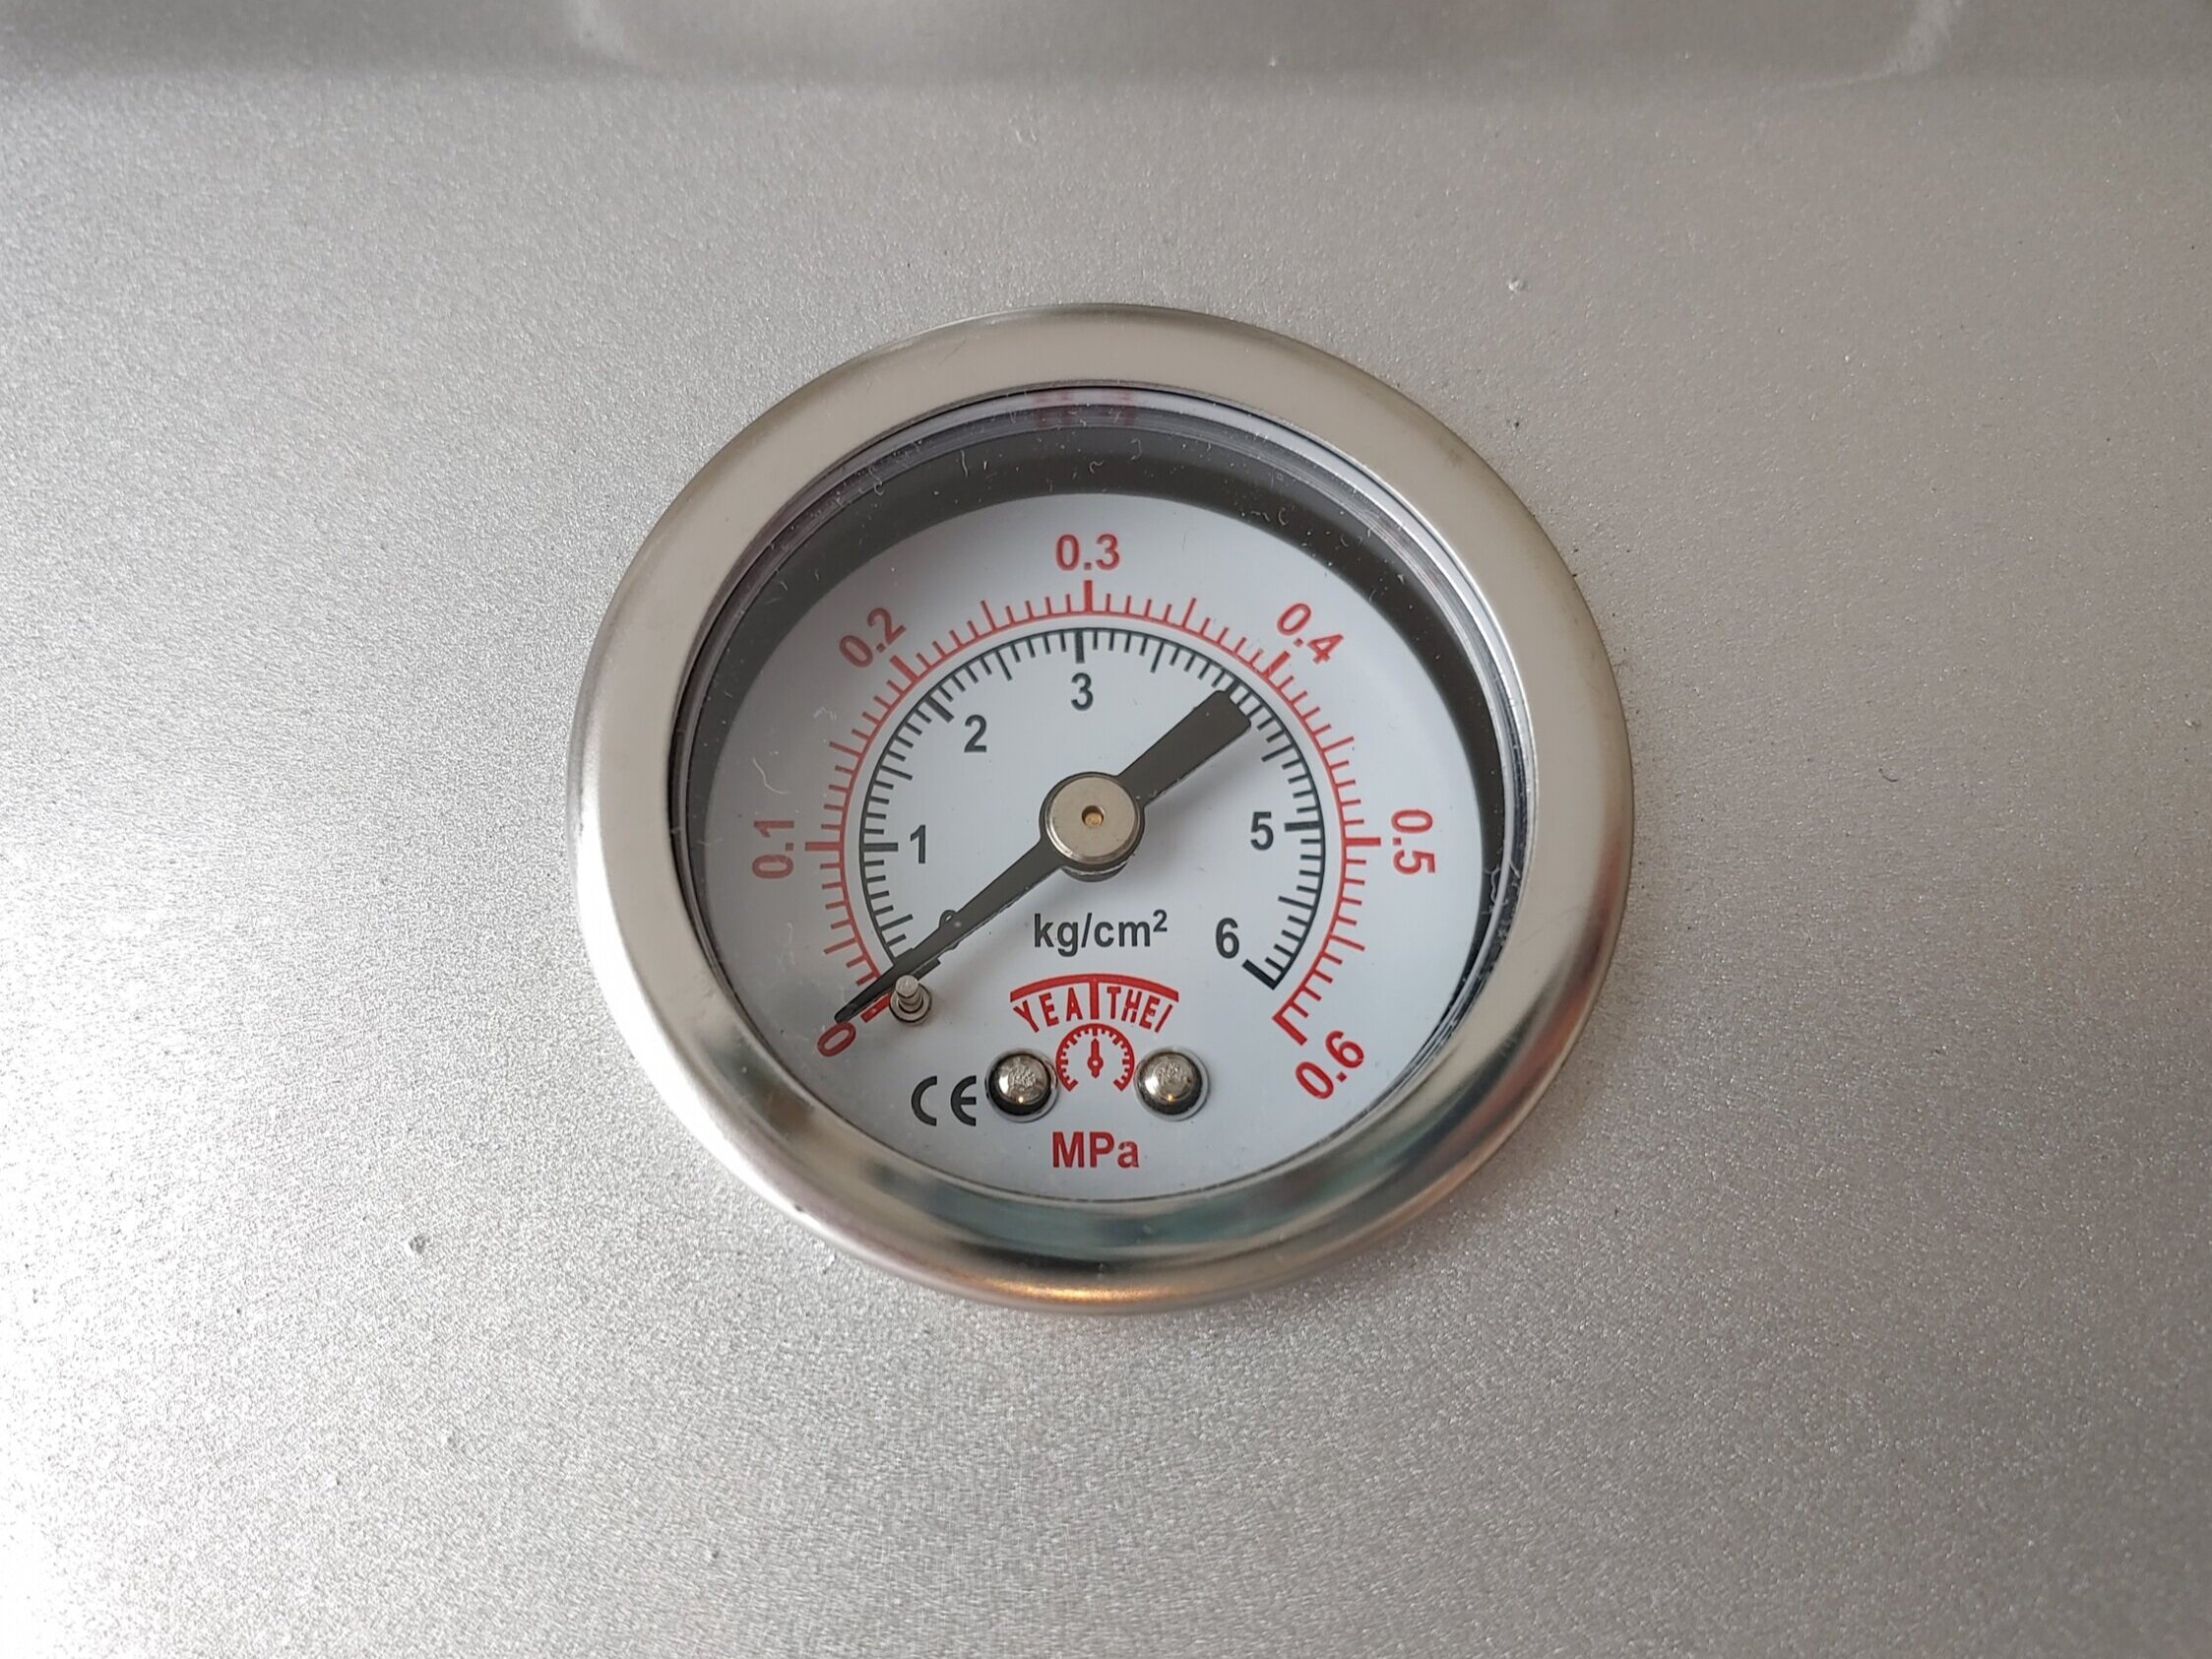
The pressure gauge on the tester. Converting the unit: 1kg/sq cm ≈ 0.98 bar, 1MPa = 10 bar.
The WR rating of your watch. This determines the pressure level the tester should reach. The conversion is easy: 1ATM = 10M = 1 bar;
Use only distilled water. This prevents mineral deposits building up in the tester and on the watch;
Make sure the crown is pushed all the way in (screwed in if it is a screw down crown).
Step 1: Fill the tester with water up to the red line
Step 2: Hang the watch onto the hook under the lid. You can put a spring bar between the lugs for this purpose. If you don’t have a spring bar that fits, you can loop a rubber band around case to create a secure loop.
Step 3: Pull the plunger to the top so that the watch stays above water, put on the lid and tighten it.
Step 4: Pressurize the chamber to the target pressure level by pumping with the handle. Then let it sit for about one minute. If there is any leak, air will get into the watch within this time.
Step 5: Preliminary test. With the watch staying above water, slowly release the air from the chamber until pressure returns to zero. This is to eliminate the possibility when there is a major leakage, the crystal pops out as the chamber depressurizes.
Step 6: The actual test. Repressurize and wait one minute. Then lower the watch into the water, and slowly release all air from the chamber. Observe the watch closely to see if there is any streams of bubbles coming out of the watch. If there is, this indicates leakage at the spot where the bubbles come out, and you should pull up the watch immediately to prevent further water ingression. One or two bubbles are fine as these are only air trapped in the gaps of the case.
Step 7: Final eye test. Take out the watch, dry it, and check if there is any signs of water or water vapour in the case.
Notice the bubble on top of the bezel. If it is only a lone bubble or two, it’s just air trapped in the gaps of the case. Whereas if it’s a stream of bubble, there is a water leakage at this point, and the watch should be removed from the water immediately.
If your watch managed to go through the whole process without failure, it passes the water resistance test. However, it is a good thing to also know what your WR rating actually means in terms of water resistance capability (spoiler: 100M isn’t 100 meters), check out our guide on the true meaning of water resistance rating, then you can use your water resistant watch in the proper scenario and not risk damaging it.
On the other hand, if the watch fails the test, the point at which leakage happens is also revealed by where the bubbles emerges. You should avoid getting the watch in touch with any water, and take it to a professional watchmaker for repair as soon as possible. Fortunately, most causes of water leakage can be fixed relatively easily, like a gasket replacement, and watchmakers will gladly do it with a water resistance test at the end of the repair to ensure the water resistance capability is restored.
So this is how you can be sure that your watch is truly water resistant. A proper water resistant watch will help you in your water activities, as in the old saying, “Take care of your watch, and it will take care of you”.
Now you know how a water pressure test is done, see it all in action in this video:


Blued hands and screws are ubiquitous existences in the history of watchmaking. Behind that frequent appearance though is a history and science that go beyond the aesthetic value of flame bluing.